Product Support
Shower Head Combo with Magnetic Dock
Model VH-CB01-CR
In the Box
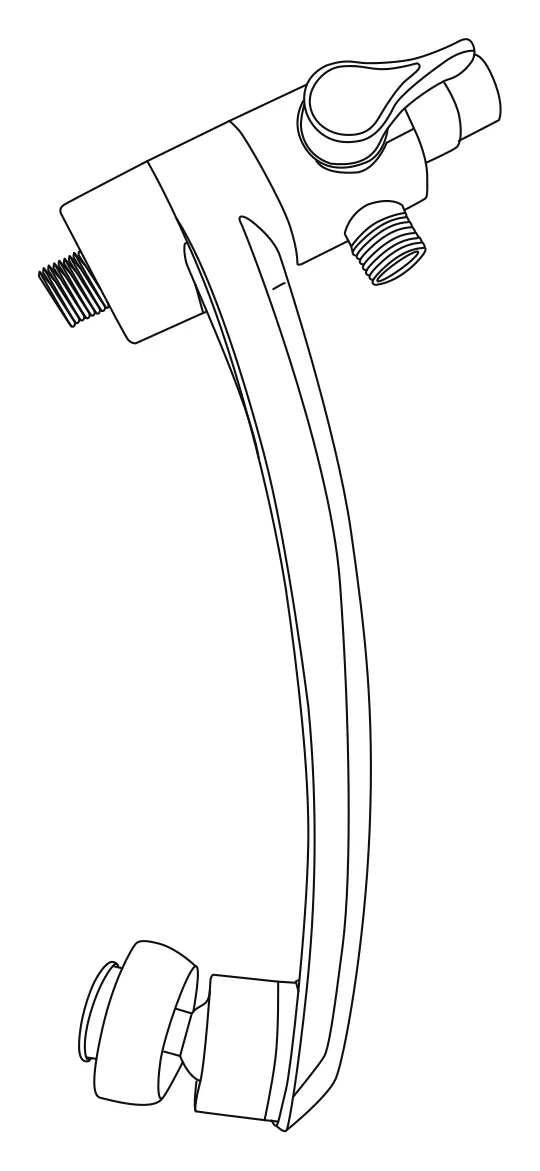
Exclusive Shower Bracket (3-Way Diverter) x 1
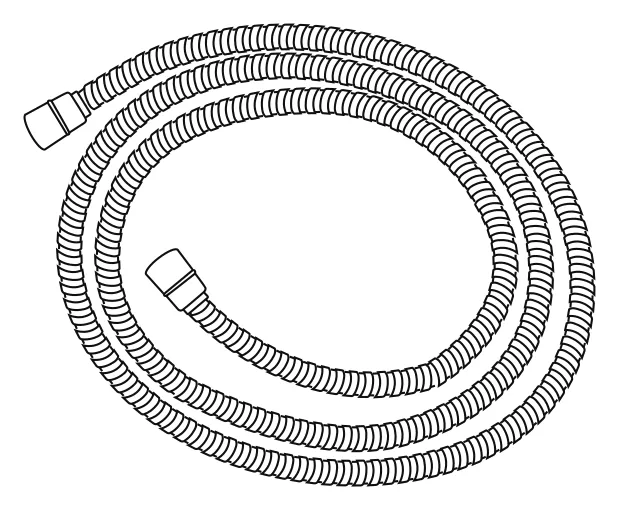
59" Stainless Steel Hose x 1
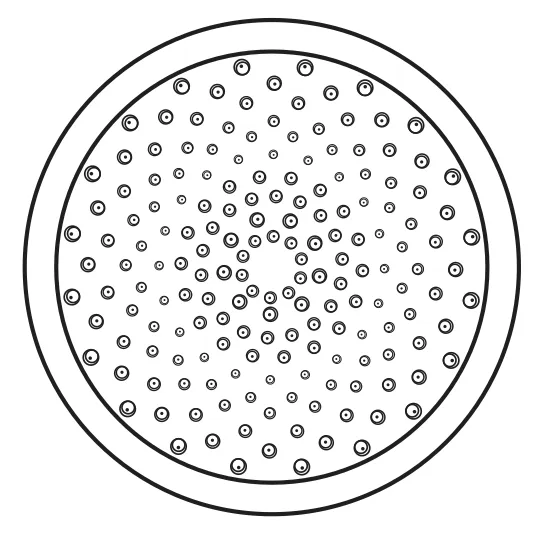
6" Fixed Shower Head x 1
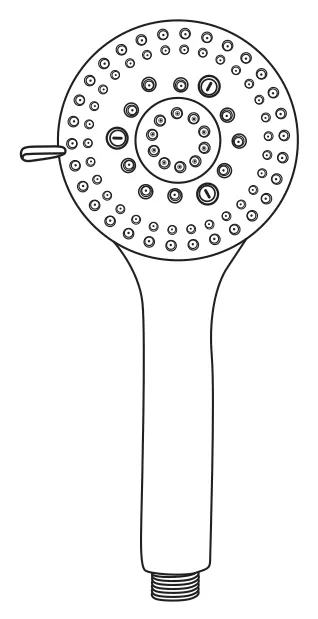
4" Handheld Shower Head x 1
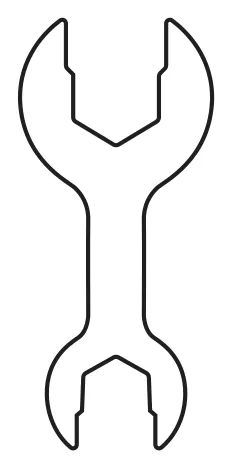
Wrench x 1
Spare Parts

Rubber Washers x 2
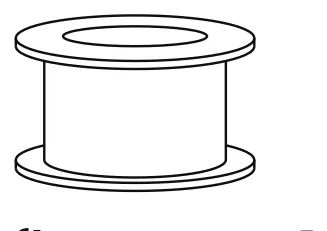
Teflon Tape x 1
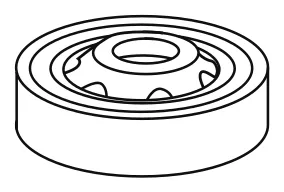
1.8 GPM Flow Restrictor x 1 (For Fixed Shower Head)
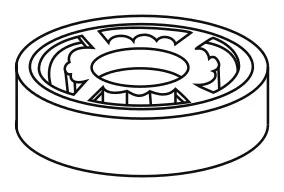
1.8 GPM Flow Restrictor x 1 (For Handheld Shower Head)
Installation Guide
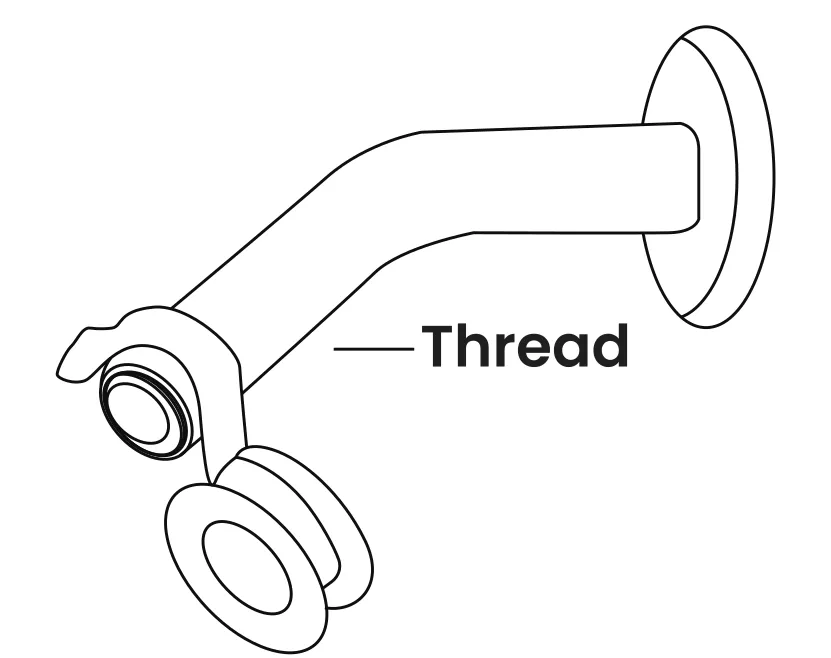
Step 01
Remove your old shower head by twisting it counterclockwise. Clean any debris from the shower arm threads. Apply 3–5 wraps of Teflon tape clockwise around the threads to ensure a watertight seal.
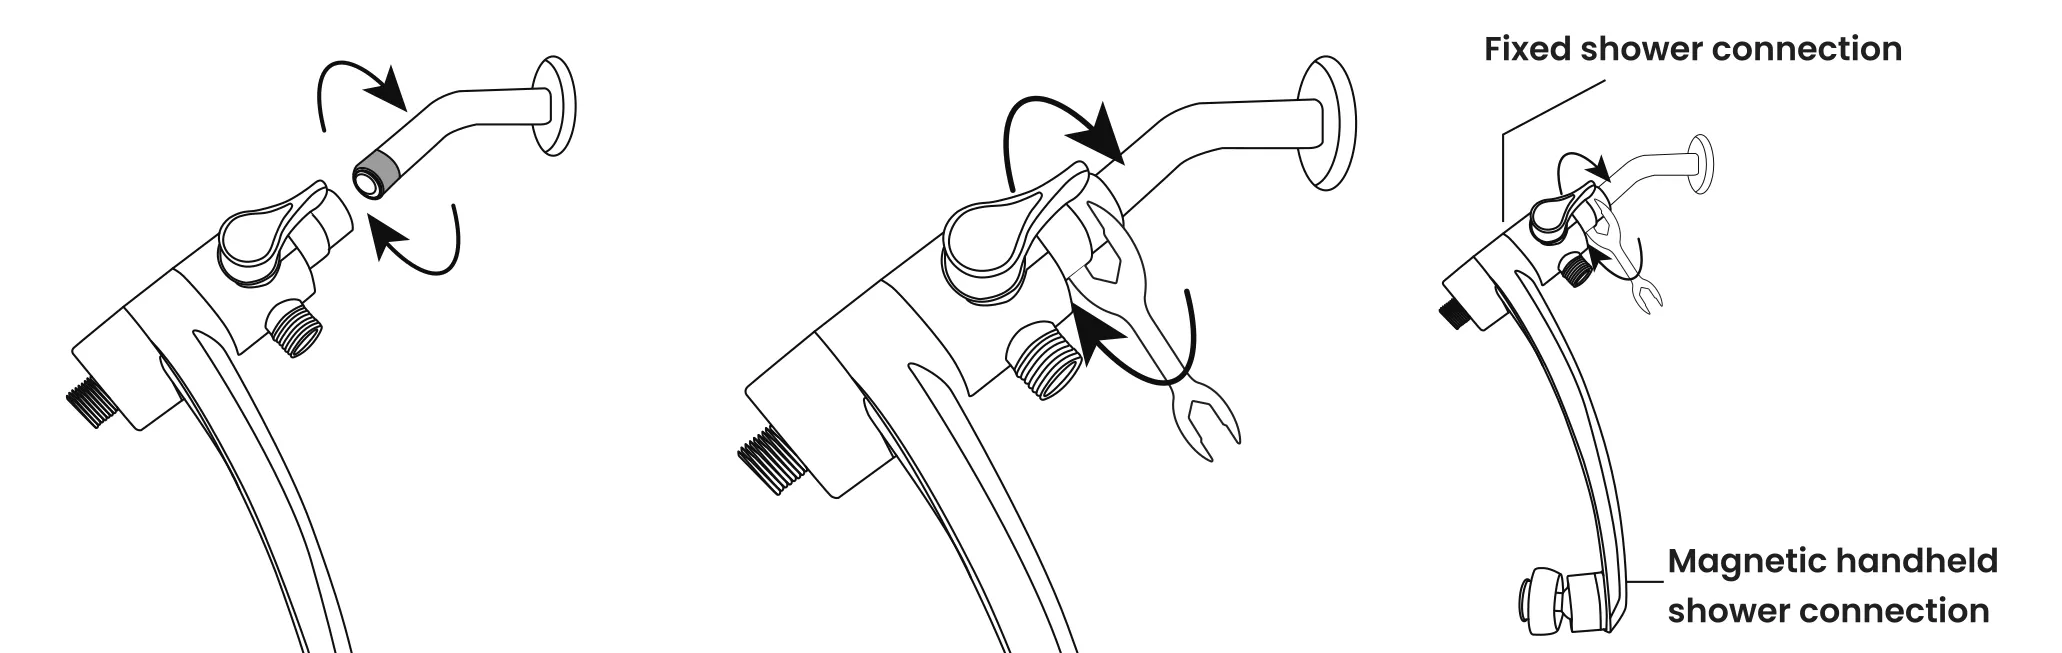
Step 02
Screw the shower bracket onto the shower arm clockwise.
- Secure: Use the provided wrench to tighten firmly.
- Protection: Place a cloth between the wrench and the bracket to prevent scratching the finish.
- Orientation: Ensure the fixed shower outlet is on top, and the Magnetic Dock for the handheld spray is at the bottom.
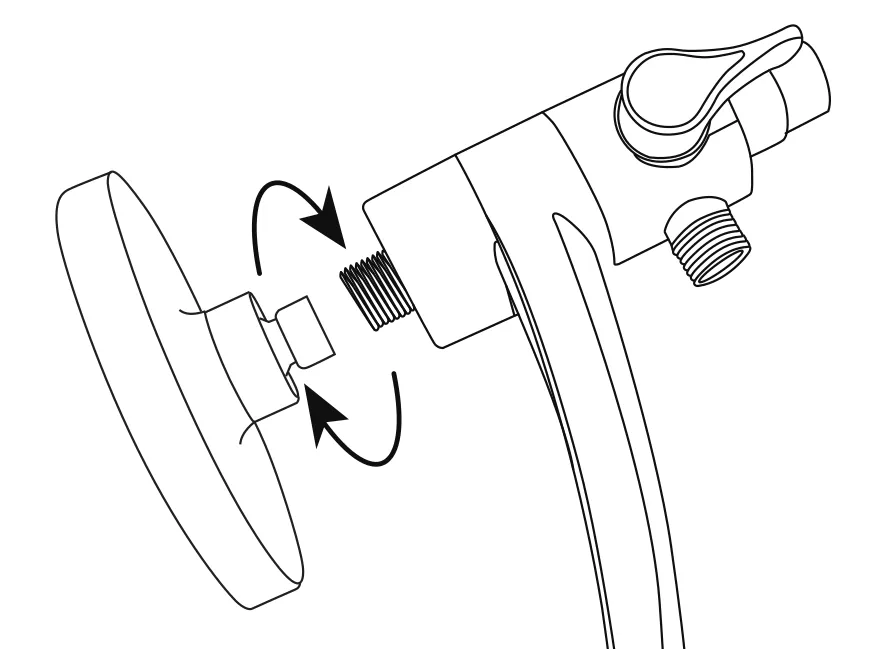
Step 03
Screw the 6" shower head onto the top outlet of the bracket clockwise. Hand-tighten first, then use the wrench for a final secure fit.
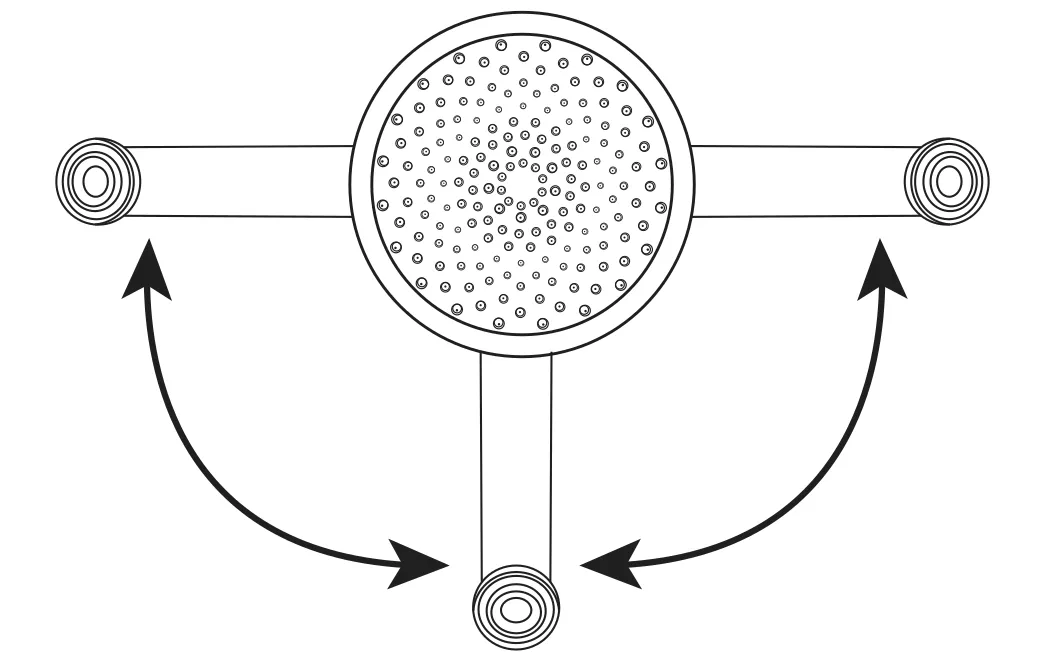
Step 04
The lower arm of the bracket is designed to pivot 180°. Hold the bracket firmly and manually adjust the handheld mount to your preferred angle. This allows you to position the spray exactly where you need it for hands-free use.
Step 05
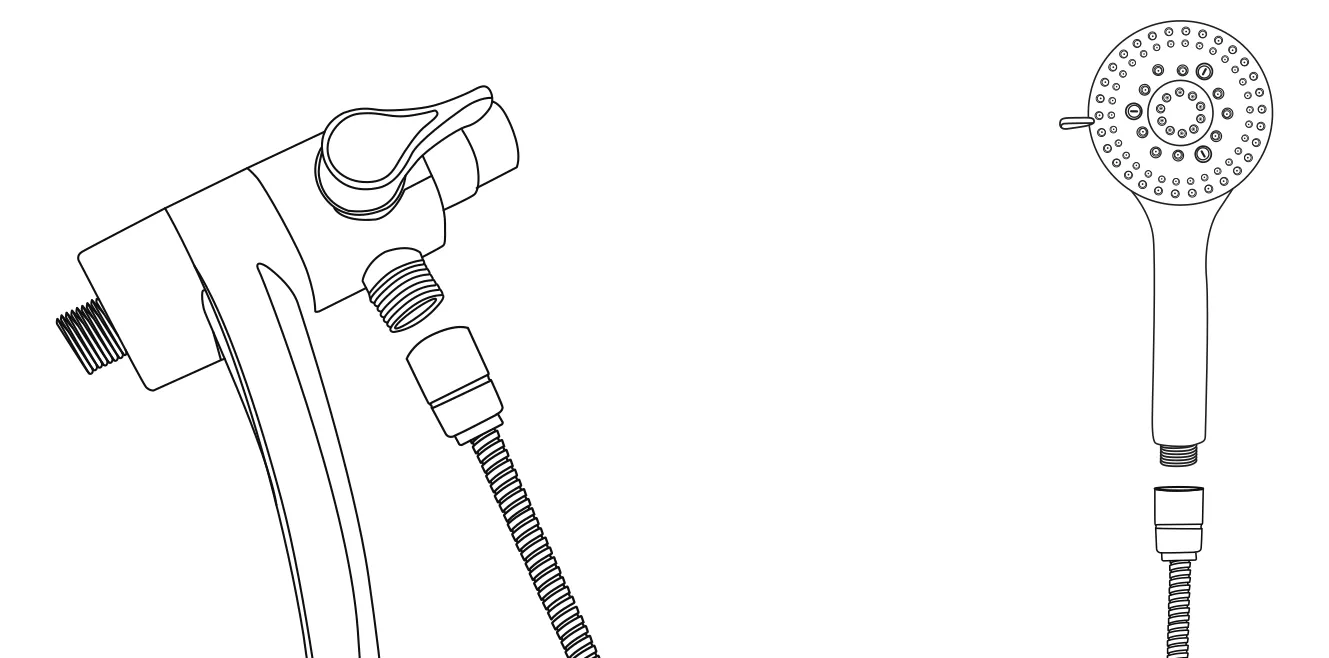
Connect one end of the hose to the bracket's bottom outlet, and the other end to the handheld shower head. Hand-tighten both connections, ensuring the washers are in place.
Step 06
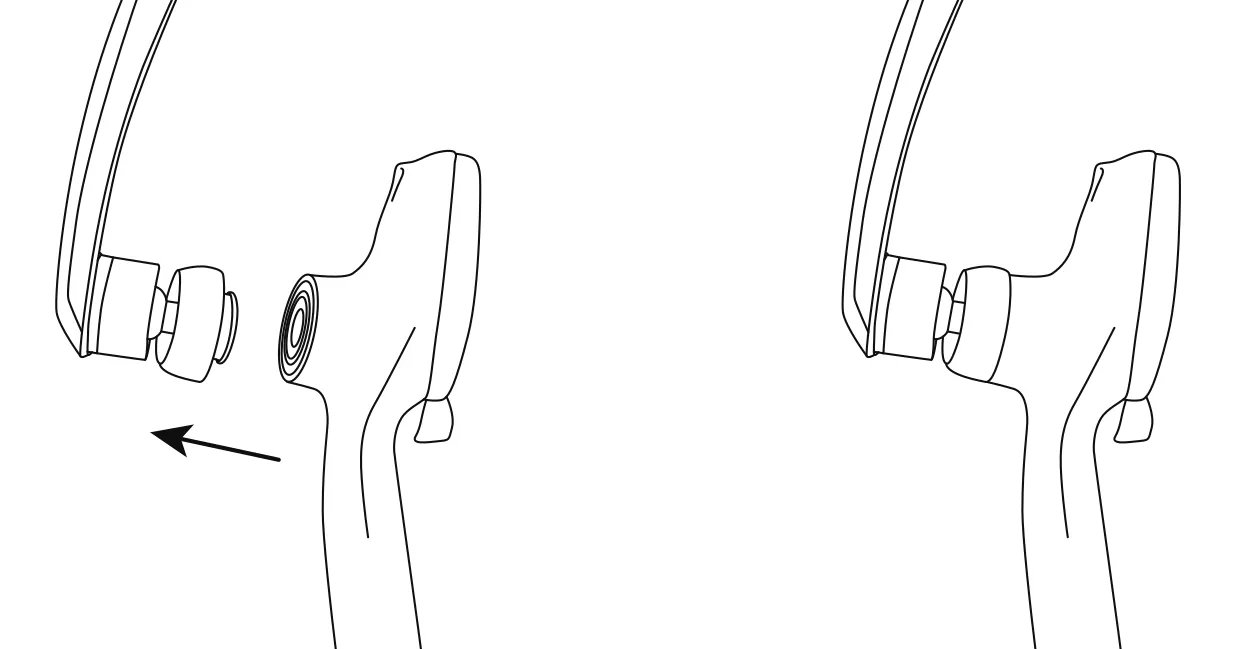
Snap the handheld shower head onto the Magnetic Dock. Turn on the water supply and inspect all connections for leaks. If leaks occur, re-tighten the affected coupling nuts.
Settings
Spray Mode Settings:
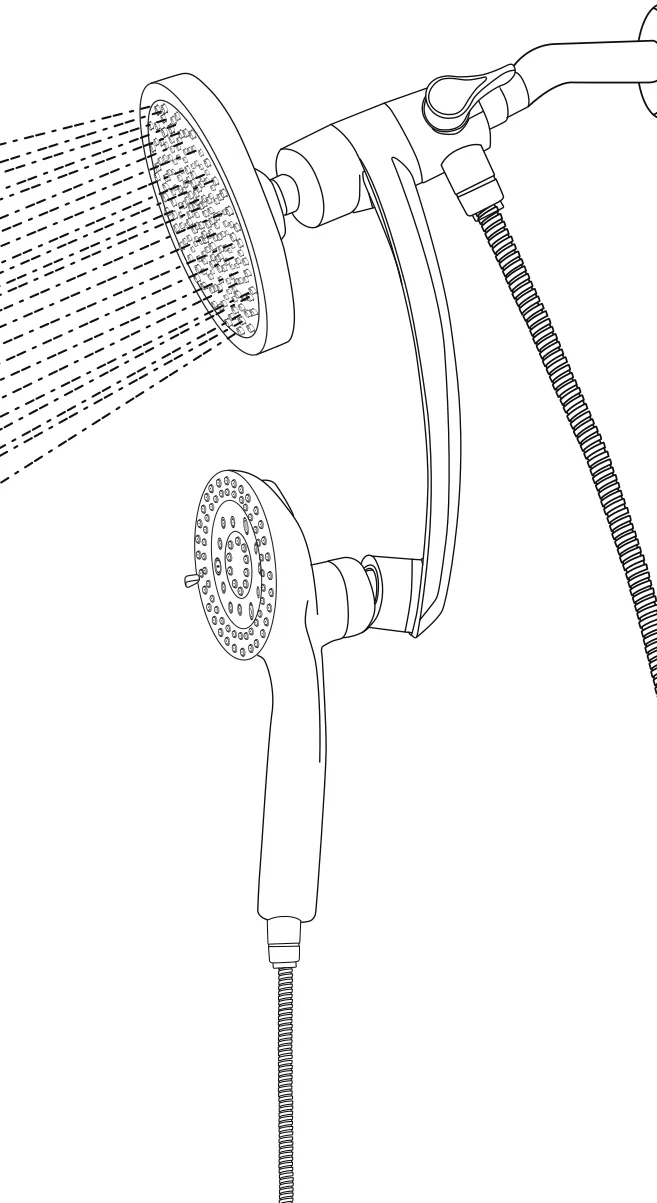
1. Fixed Shower Head Spray
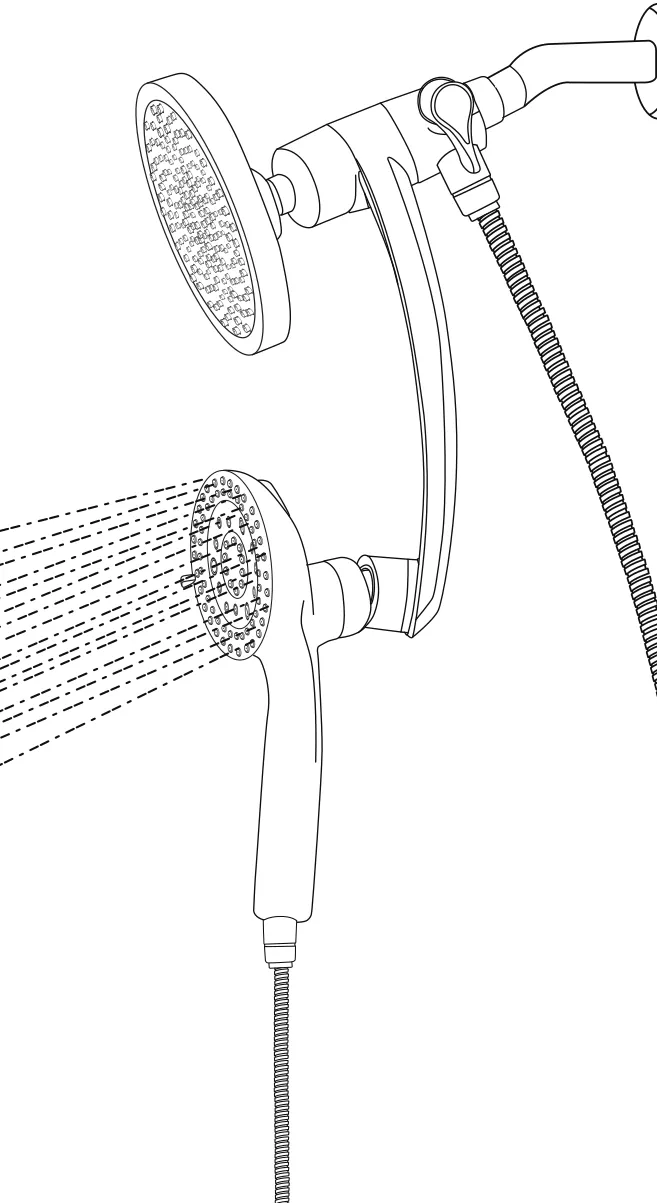
2. Handheld Spray
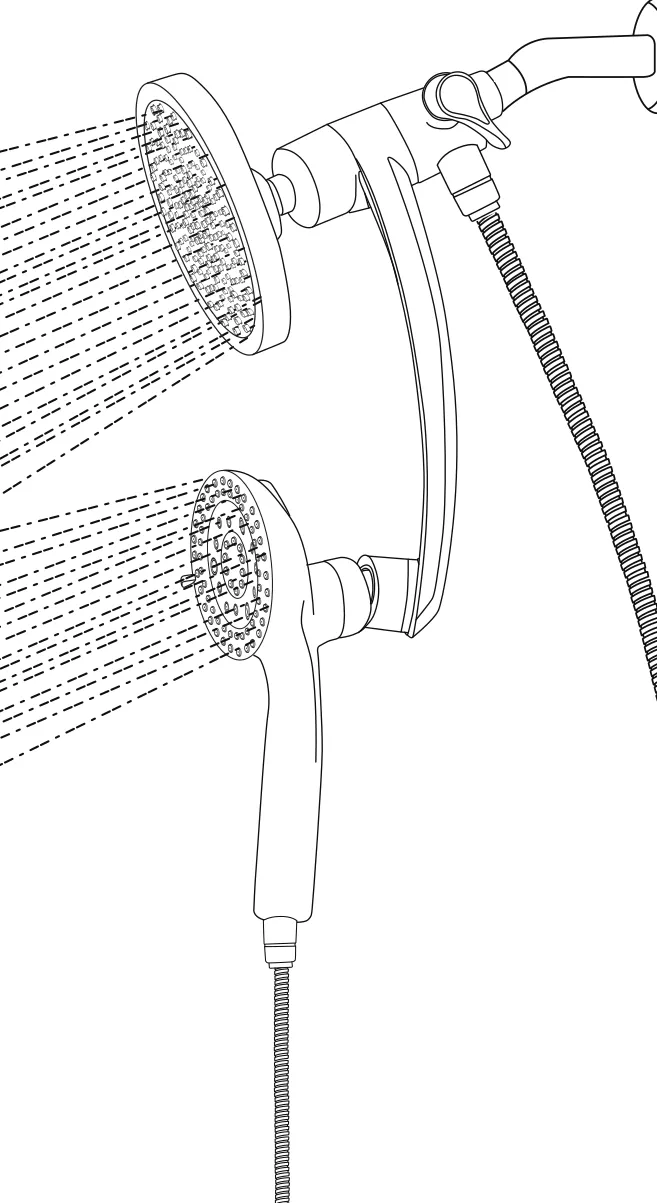
3. Dual Spray (Combo)
Handheld:
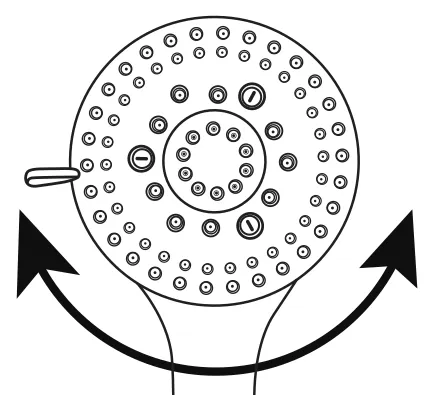
Rotate the small handle from left to right to switch spray settings.
9 Settings Shower Head with Built-in Power Wash
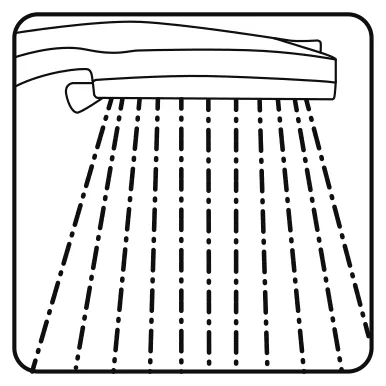
Saturating Spray
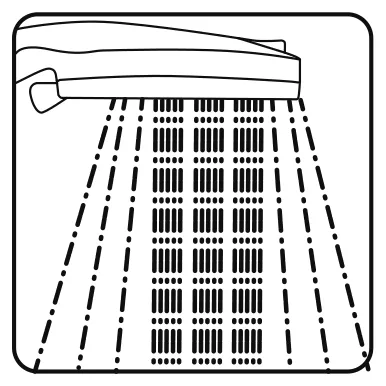
Saturating + Massage
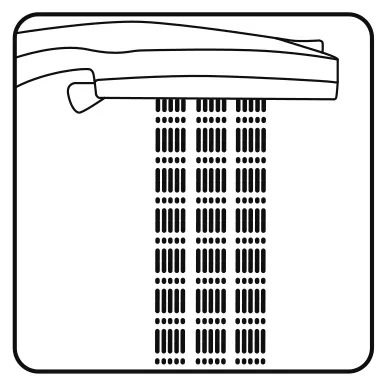
Massage
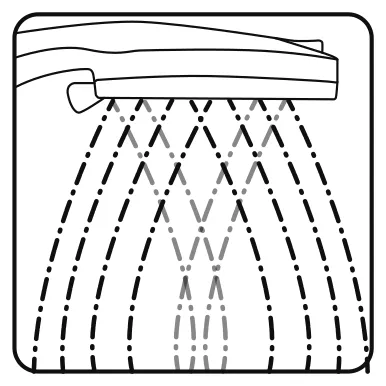
Misty
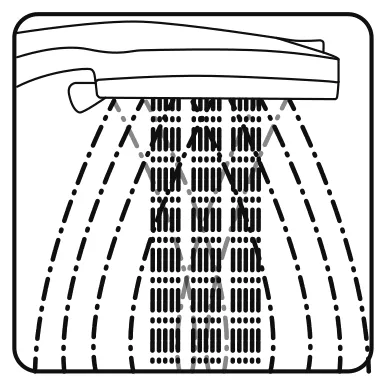
Massage + Misty
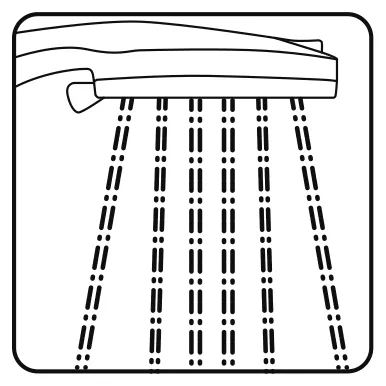
Sweeping Spray
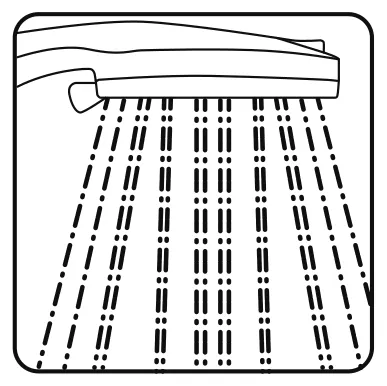
Saturating + Sweeping Spray
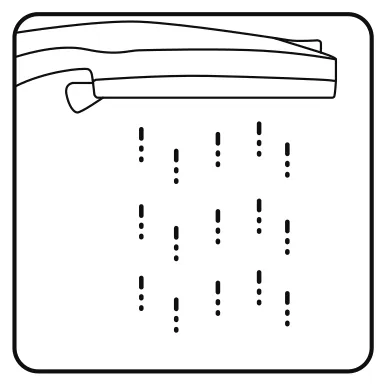
Pause
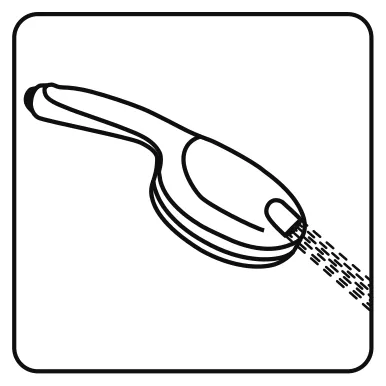
Point Jet
Shower Head Combo Troubleshooting Guide
Leak at the bracket connection
- Ensure one washer is properly seated inside the bracket.
- Remove all old thread seal tape from the shower arm.
- Use the included wrench to secure the swivel nut.
- Tip: A small amount of soap on threads can act as a temporary sealant.
Leak at the handheld-to-hose connection
- Ensure a washer is present at both ends of the hose.
- Hand-tighten only. Do not use tools, as overtightening may crack the connector.
Leak at the shower head-to-bracket connection
- Apply a thin layer of the included thread seal tape.
- Use the included wrench to tighten gently, ensuring a snug fit.
Low water pressure
- Inspect the 1.8 GPM water-saving insert for debris.
- Soak the insert in white vinegar for 2–3 hours to remove mineral buildup, then rinse thoroughly.
Lower water pressure when using both shower heads
- This is a normal physical occurrence. When the 3-Way Diverter is set to the "Combo" mode, the 1.8 GPM water flow is split between both heads, resulting in lower pressure for each.
- For maximum pressure, switch the diverter to use only one shower head at a time.
Mineral deposits in spray nozzles
- Disconnect the shower head or handheld and soak the face-down head in 1–2 cups of white vinegar for 2–3 hours.
- Reconnect and run water through to clear remaining deposits.
Handheld falls from the Magnetic Dock
- Ensure the handheld is fully snapped into the dock. You should hear a "click" when the magnetic connection is secure.
Handheld is difficult to remove from the Magnetic Dock
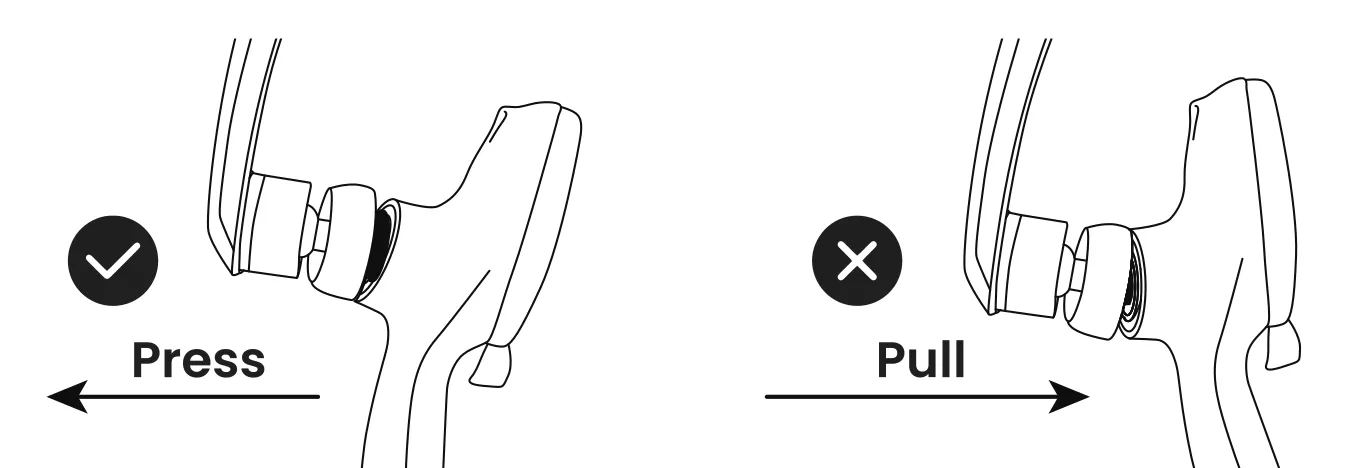
- To release, tilt and press the handheld downward. Avoid pulling it straight outward, as the magnetic hold is strongest in that direction.
Cleaning & Maintenance
To keep your shower combo performing at its best, we recommend a deep cleaning every six months.
- Nozzle Care: Gently rub the spray nozzles with your fingers or a soft toothbrush to remove mineral buildup.
- Deep Clean: For thorough descaling, soak the shower head/handheld in a 50:50 white vinegar and water solution for 2–3 hours. Rinse thoroughly afterward.
Care Warnings
- Avoid Chemicals: Do not use harsh chemicals, strong detergents, or abrasive cleaners. These may damage the finish or internal parts and will void your warranty.
Warranty & Contact
Customer Support
If you encounter any issues with your product, our dedicated support team is here to assist you.
- Service Hours:
- Monday–Friday, 9 am–5 pm (ET)