Product Support
Pet Wand Pro
Model VH-PS01-CR
In the Box
Pet Wand Pro System Includes:
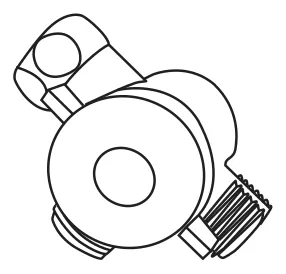
Diverter x 1
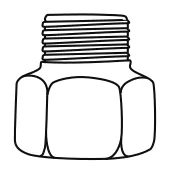
Outdoor Adapter x 1
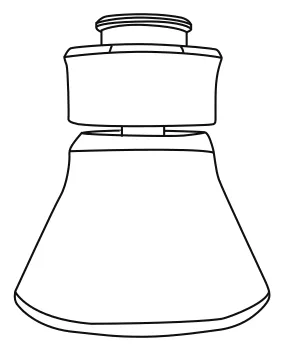
Magnetic Remote Dock x 1
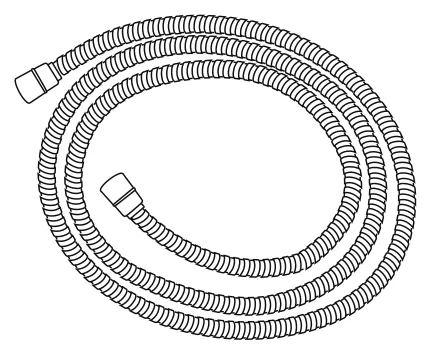
100-inch Flexible Hose x 1
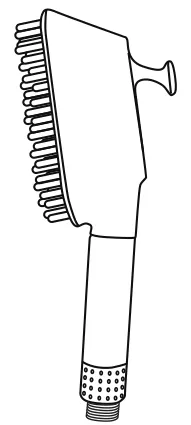
Wand x 1
Accessories
- 2 × Replacement Washers
- 1 × Thread Seal Tape
- Wrench
- User Manual
- Handheld Flow Restrictor (1.8 GPM)
Installation Guide
Outdoor Installation*
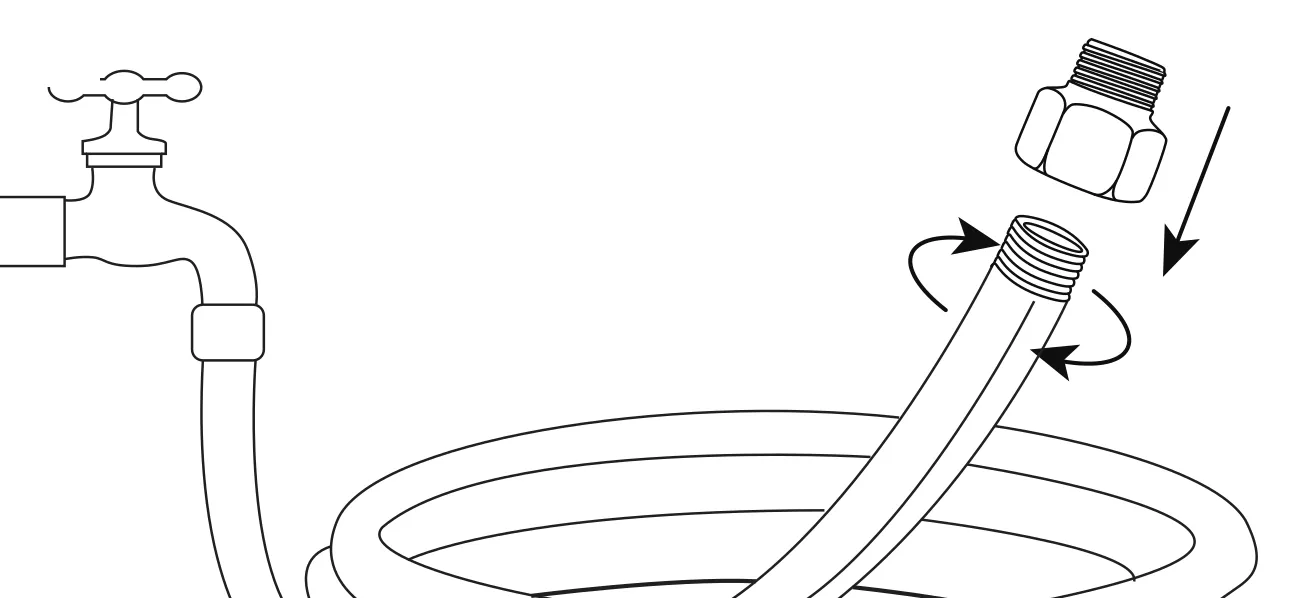
Step 01
Attach the outdoor adapter to your garden hose.
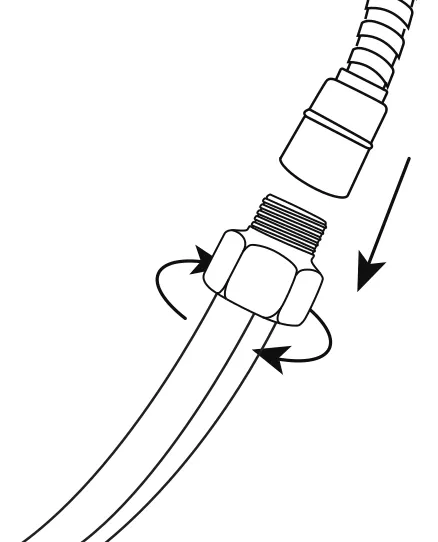
Step 02
Connect the provided flexible hose to the outdoor adapter.
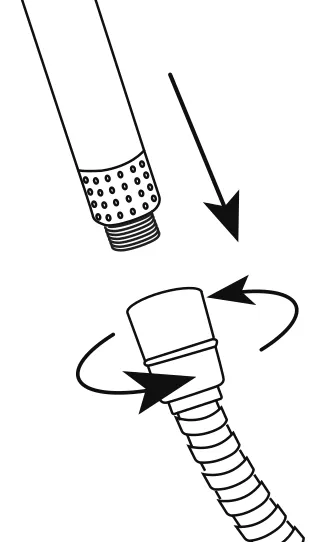
Step 03
Connect the wand to the flexible hose.
DO NOT leave product outside.
Indoor Installation*
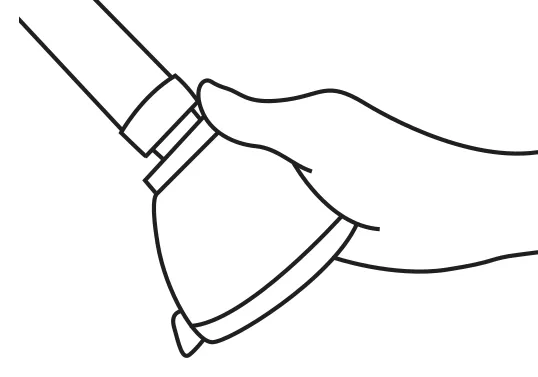
Step 01
Remove your current shower head from the shower arm.
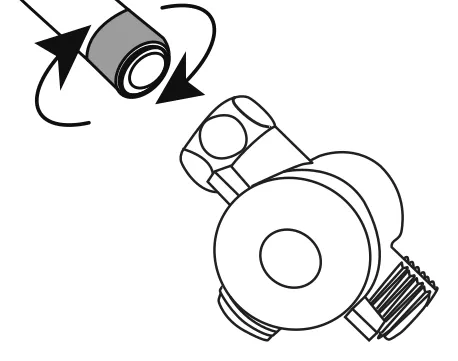
Step 02
Screw the diverter onto the shower arm clockwise.
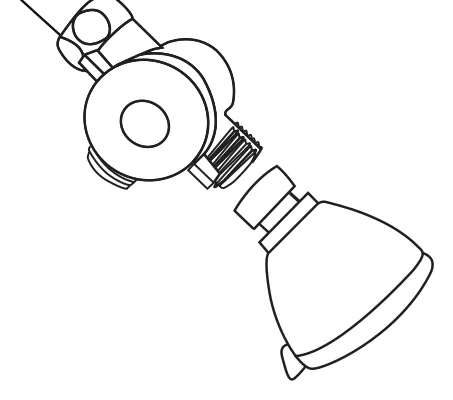
Step 03
Screw your shower head onto the diverter.**
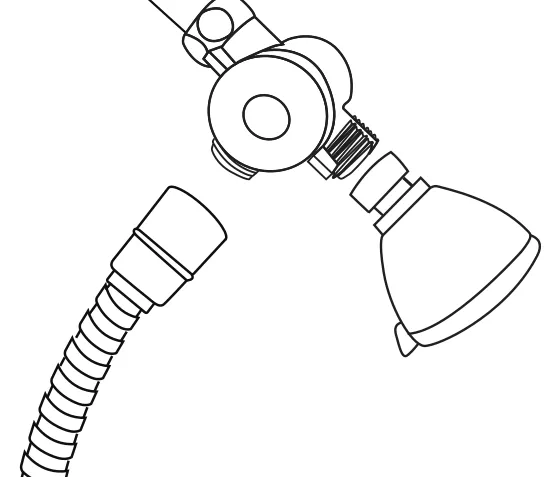
Step 04
Screw the hose onto the bottom outlet of the diverter.
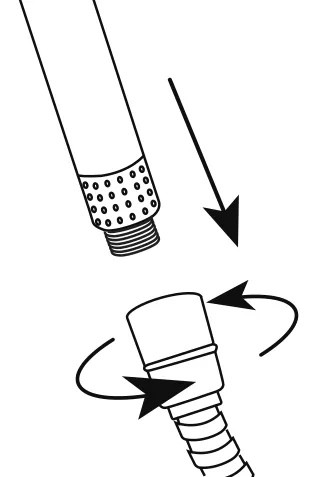
Step 05
Screw the wand onto the hose.
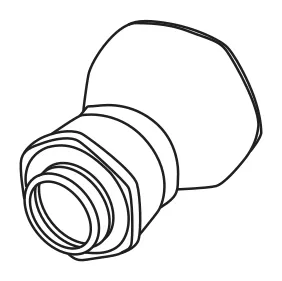
Step 06
Stick the magnetic remote dock at your desired position.
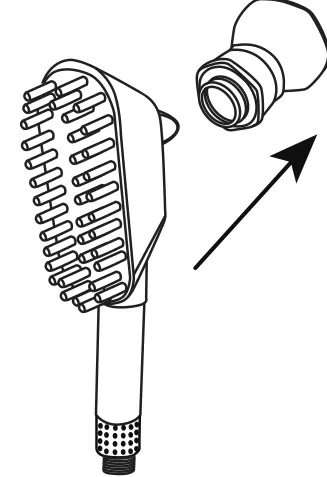
Step 07
Snap the wand to the magnetic remote dock for easy storage.
Alternative Setup: Use with an existing handheld shower
Simply replace your shower hose with the pet wand hose for an instant upgrade.
- *Ensure the washer is in place before tightening to prevent leaks.
- **Apply 5–8 wraps of thread seal tape to the diverter threads to ensure a watertight seal.
- ***The adhesive is for one-time use. Please test your location and clean the surface before sticking.
User Guide: How to Use the Pet Wand Pro
If Using Indoors:
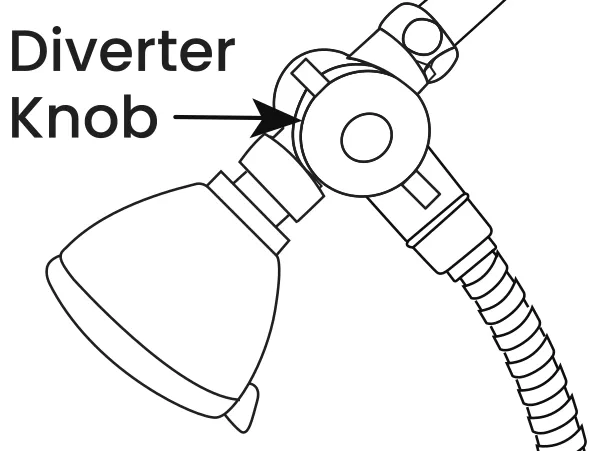
To divert water to the pet wand, make sure the diverter knob is pointing down.
One-Handed Operation:
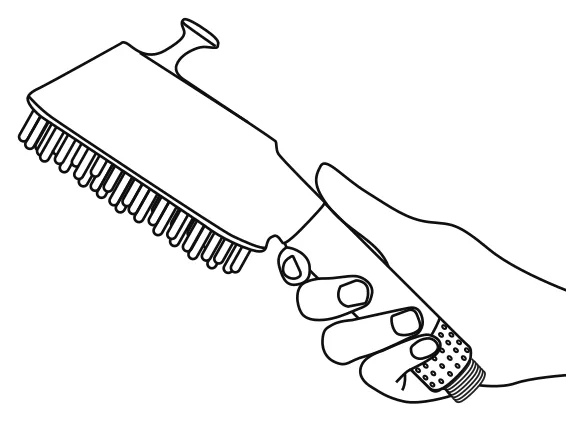
The pet wand allows for one-handed use, so you can keep your other hand on your pet.
Magnetic Remote Dock:
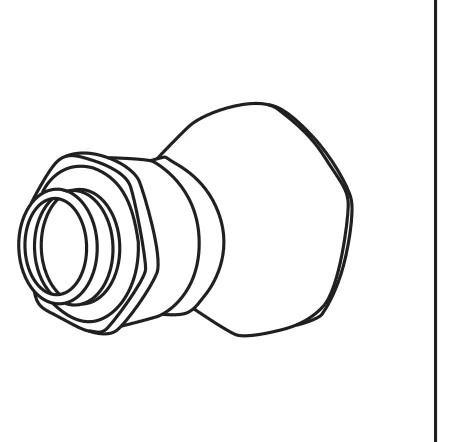
Secure your pet wand with our magnetic remote dock for convenient, hands-free storage.
Massage Mode:
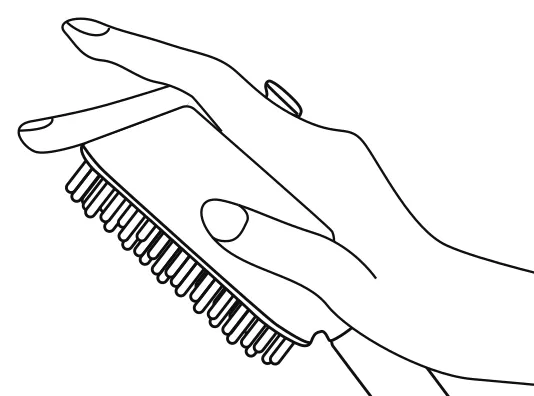
Grip like a comb to massage the skin and penetrate deep into the coat, ensuring a thorough and relaxing clean.
Rinse Mode:
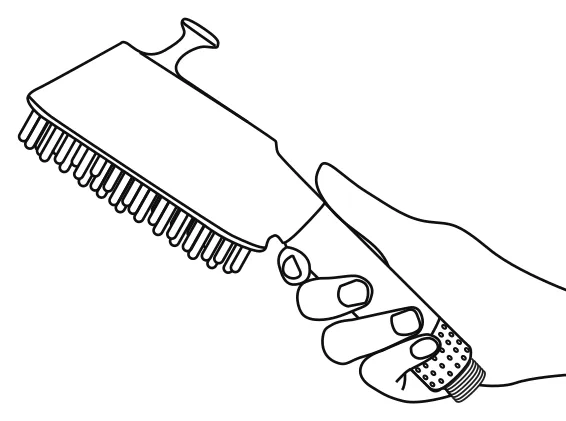
Hold like a standard shower head for full-body rinsing and coverage.
Flow Control:
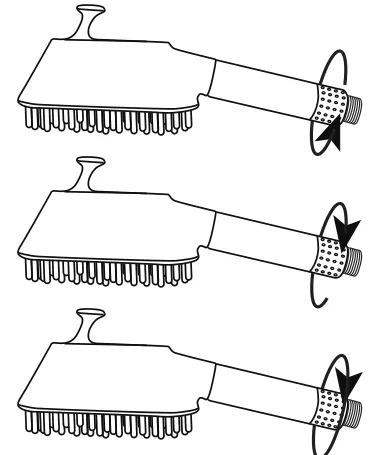
- Rotate clockwise: Increase water pressure.
- Rotate counterclockwise: Decrease water pressure.
- Rotate fully counterclockwise: Pause water flow (for hands-free operation).
Bathing Guide: A Step-by-Step Routine
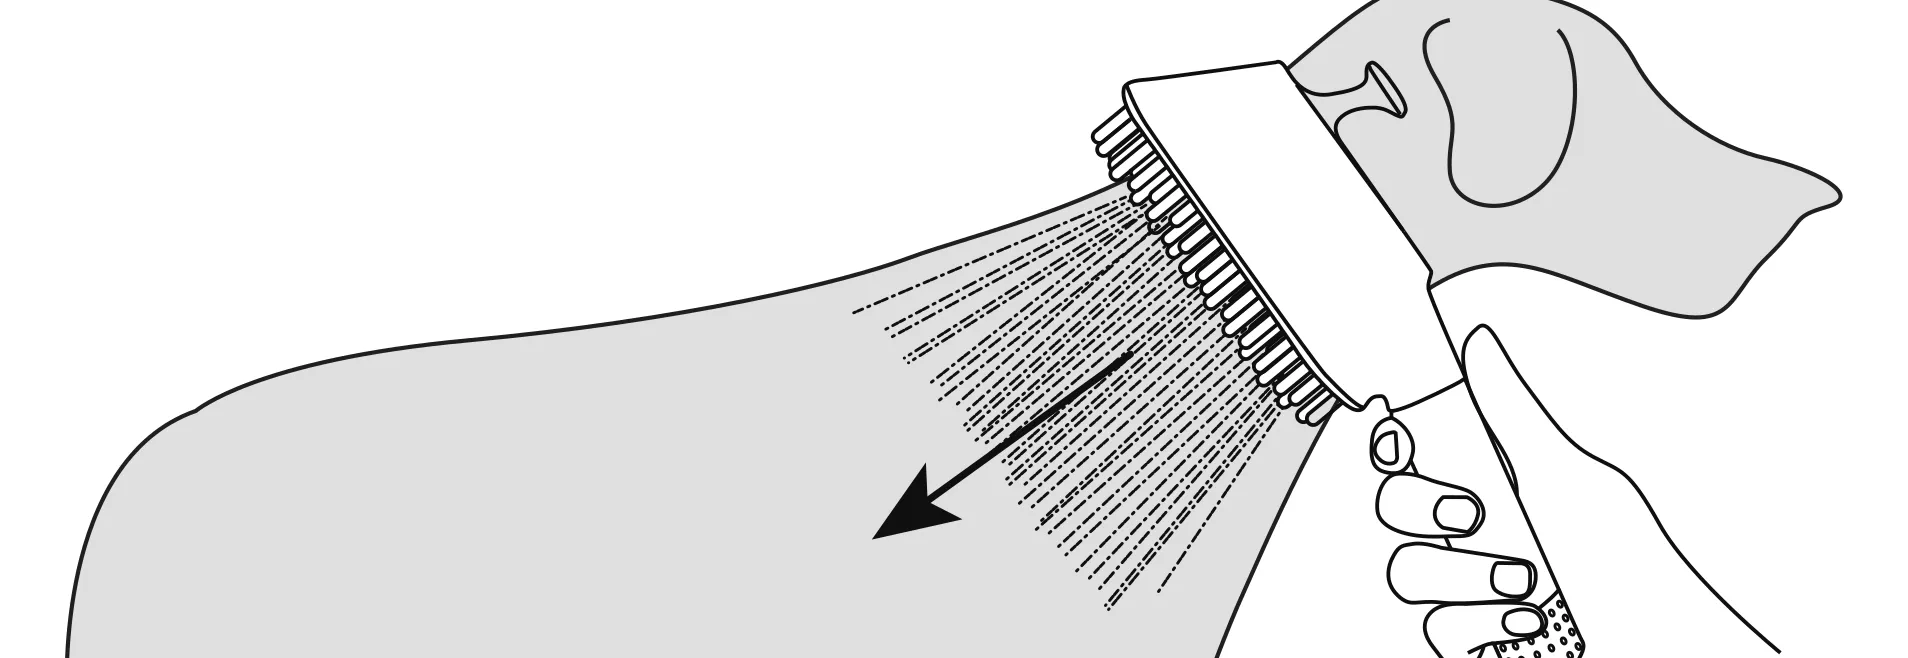
Step 01
Wetting
Start at the neck and move the wand down the back, following the body's contours in one smooth motion. Use lower water pressure for the face, chest, and underbelly.
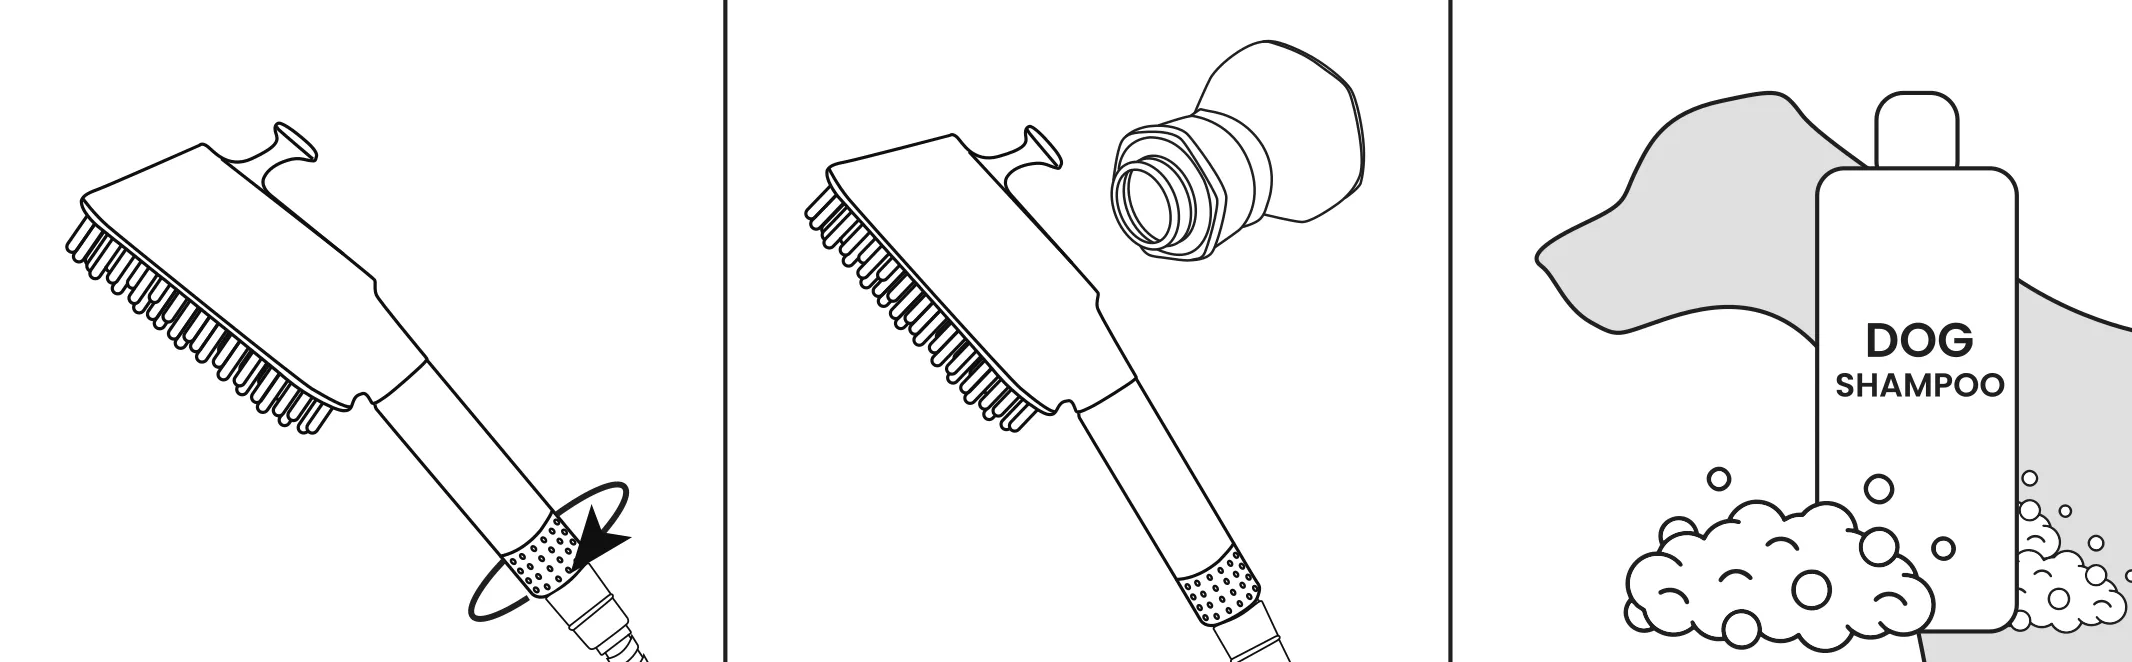
Step 02
Lathering
Rotate the handle tail to pause the water flow and dock the wand on the magnetic remote dock. Apply shampoo and lather thoroughly while your pet remains steady.
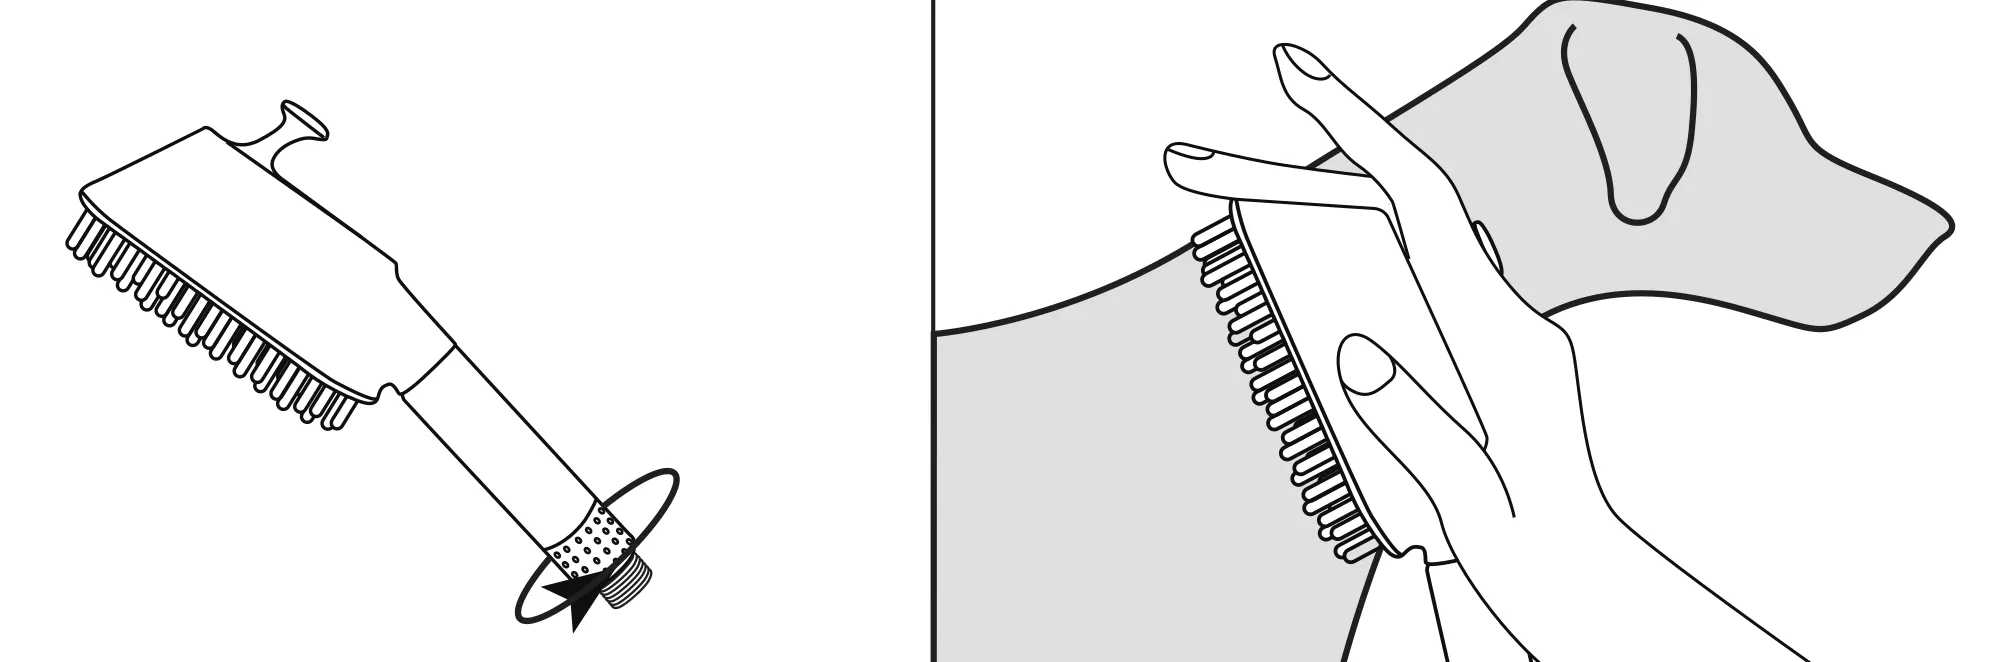
Step 03
Rinsing
Undock the wand and resume water flow. Using Massage Mode, work the water through the coat to rinse out all shampoo. Always move from neck to tail for the most effective cleaning.
Safety & Care
- Avoid Sensitive Areas: Never aim the water spray directly at your pet’s eyes, ears, mouth, or nose.
- Temperature Safety: Always test the water temperature on your hand before starting. Ensure your water heater is set to 120°F (49°C) or below to prevent scalding.
- Supervision: Never leave your pet or the running wand unattended.
- Intended Use: This product is for cleaning purposes only; it is not a toy. For external use only.
- Age/Health Restrictions: Consult a veterinarian before using this product on pets that are pregnant, nursing, or under 12 weeks of age.
- Storage: Always store the product indoors after use. Do not leave it exposed to outdoor elements.
Pet Wand Pro Troubleshooting Guide
Leak at the diverter connection
- Ensure one washer is properly seated inside the diverter.
- Remove all old thread seal tape from the shower arm.
- Use the included wrench to secure the swivel nut.
- Tip: A small amount of soap on threads can act as a temporary sealant.
Leak at the wand-to-hose connection
- Ensure a washer is present at both ends of the hose.
- Hand-tighten only. Do not use tools, as overtightening may crack the connector.
Leak at the shower head-to-diverter connection
- Apply a thin layer of the included thread seal tape.
- Use the included wrench to tighten gently, ensuring a snug fit.
Low water pressure
- Inspect the 1.8 GPM water-saving insert for blockages.
- Soak the insert in white vinegar for 2–3 hours to remove mineral buildup, then rinse thoroughly.
Mineral deposits in spray nozzles
- Disconnect the wand and soak the face-down head in 1–2 cups of white vinegar for 2–3 hours.
- Reconnect and run water through to clear remaining deposits.
Magnetic remote dock falling off
- Ensure proper initial installation: Clean and dry the surface thoroughly.
- Select a flat, non-porous location, as the adhesive is designed for one-time use.
- Bonding process: Press firmly for 30 seconds. Allow the adhesive to cure for 24 hours before hanging the wand.
- Note: If the adhesive loses its grip, we recommend using a standard high-strength mounting tape for a permanent fix.
Wand falls from the magnetic remote dock
- Ensure the wand is fully snapped into the dock. You should hear a "click" when the magnetic connection is secure.
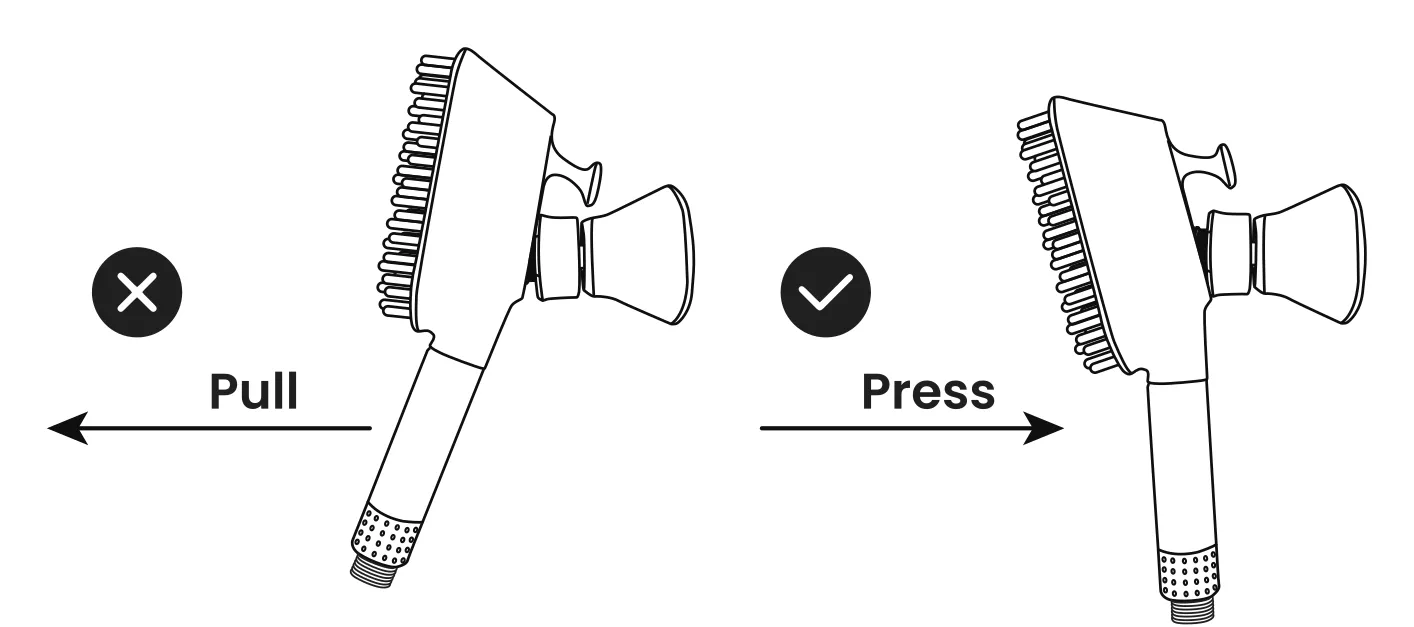
Wand is difficult to remove from the magnetic remote dock
- To release, tilt and press the wand downward. Avoid pulling it straight outward, as the magnetic hold is strongest in that direction.
Cleaning & Maintenance
Keep your pet wand performing at its best with regular care. For deeper cleaning, we recommend descaling every six months.
- Nozzle Care: Gently rub the spray nozzles with your fingers or a soft toothbrush to remove mineral buildup.
- Deep Clean: For thorough descaling, soak the wand in a 50:50 white vinegar and water solution for 2–3 hours. Rinse thoroughly afterward.
Care Warnings
- Avoid Chemicals: Do not use harsh chemicals, strong detergents, or abrasive cleaners. These may damage the finish or internal parts and will void your warranty.
Warranty & Contact
Customer Support
If you encounter any issues with your product, our dedicated support team is here to assist you.
- Service Hours:
- Monday–Friday, 9 am–5 pm (ET)