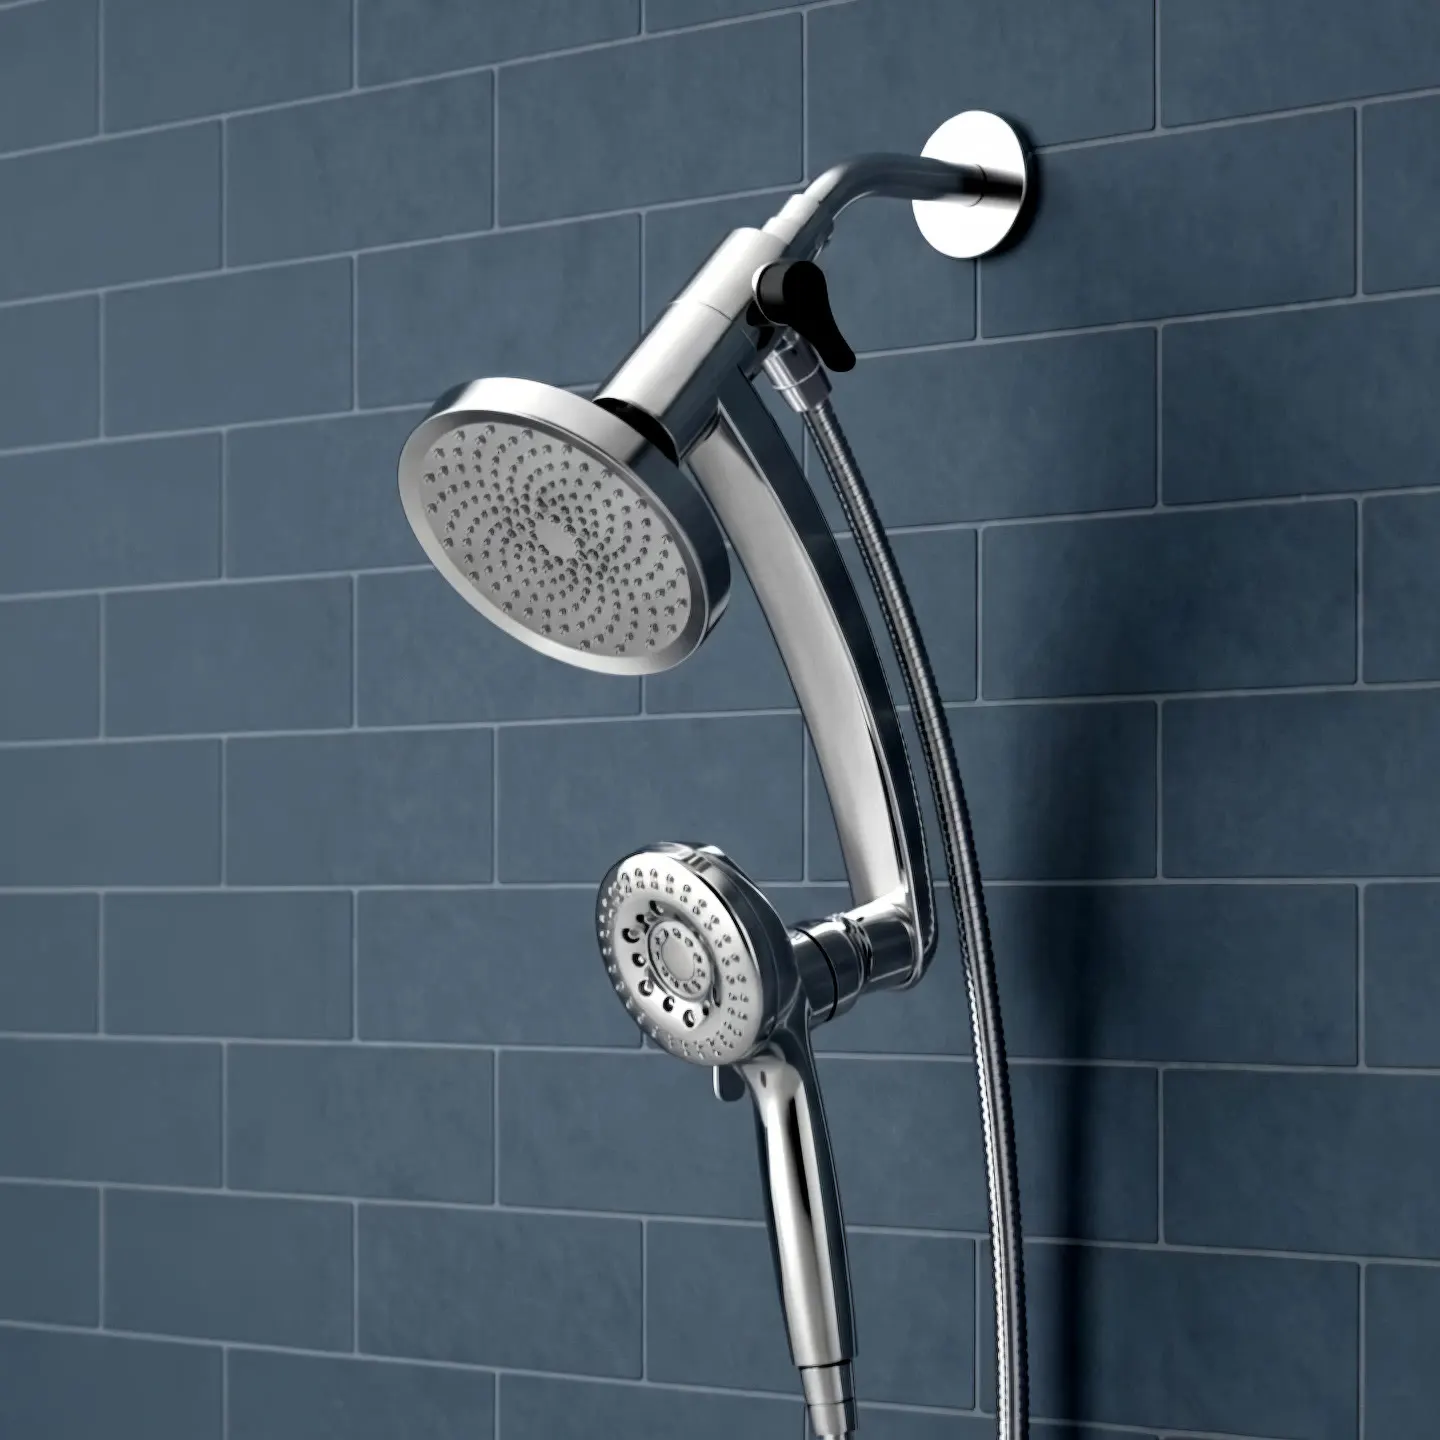
Shower Head Combo
One set. Every rinse.
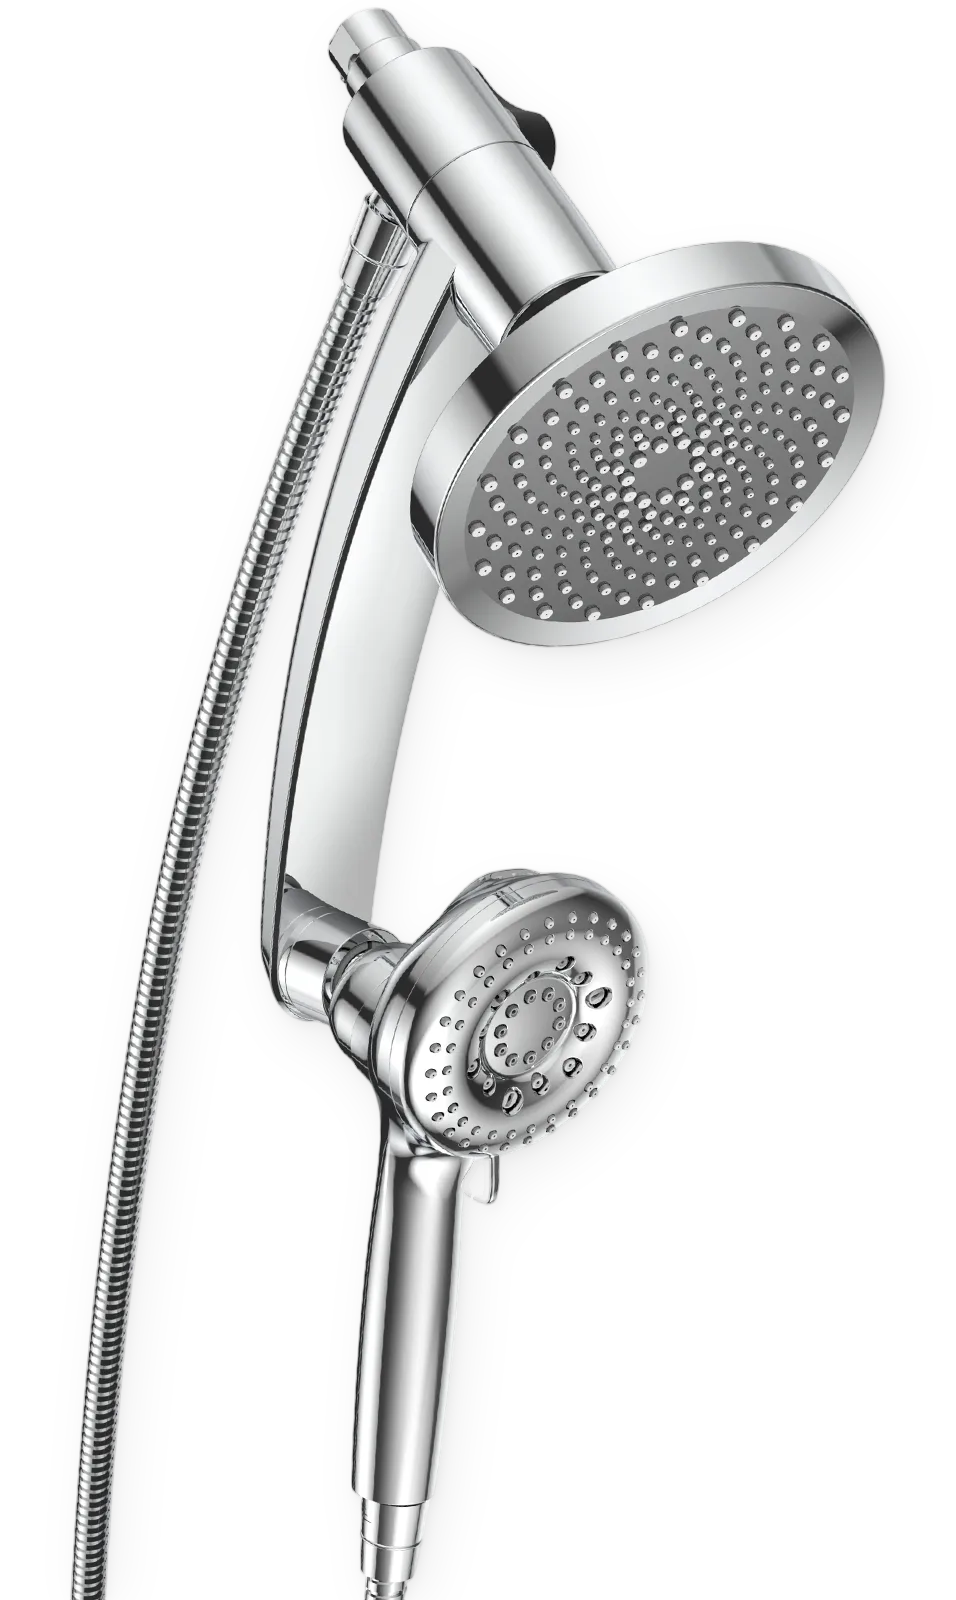
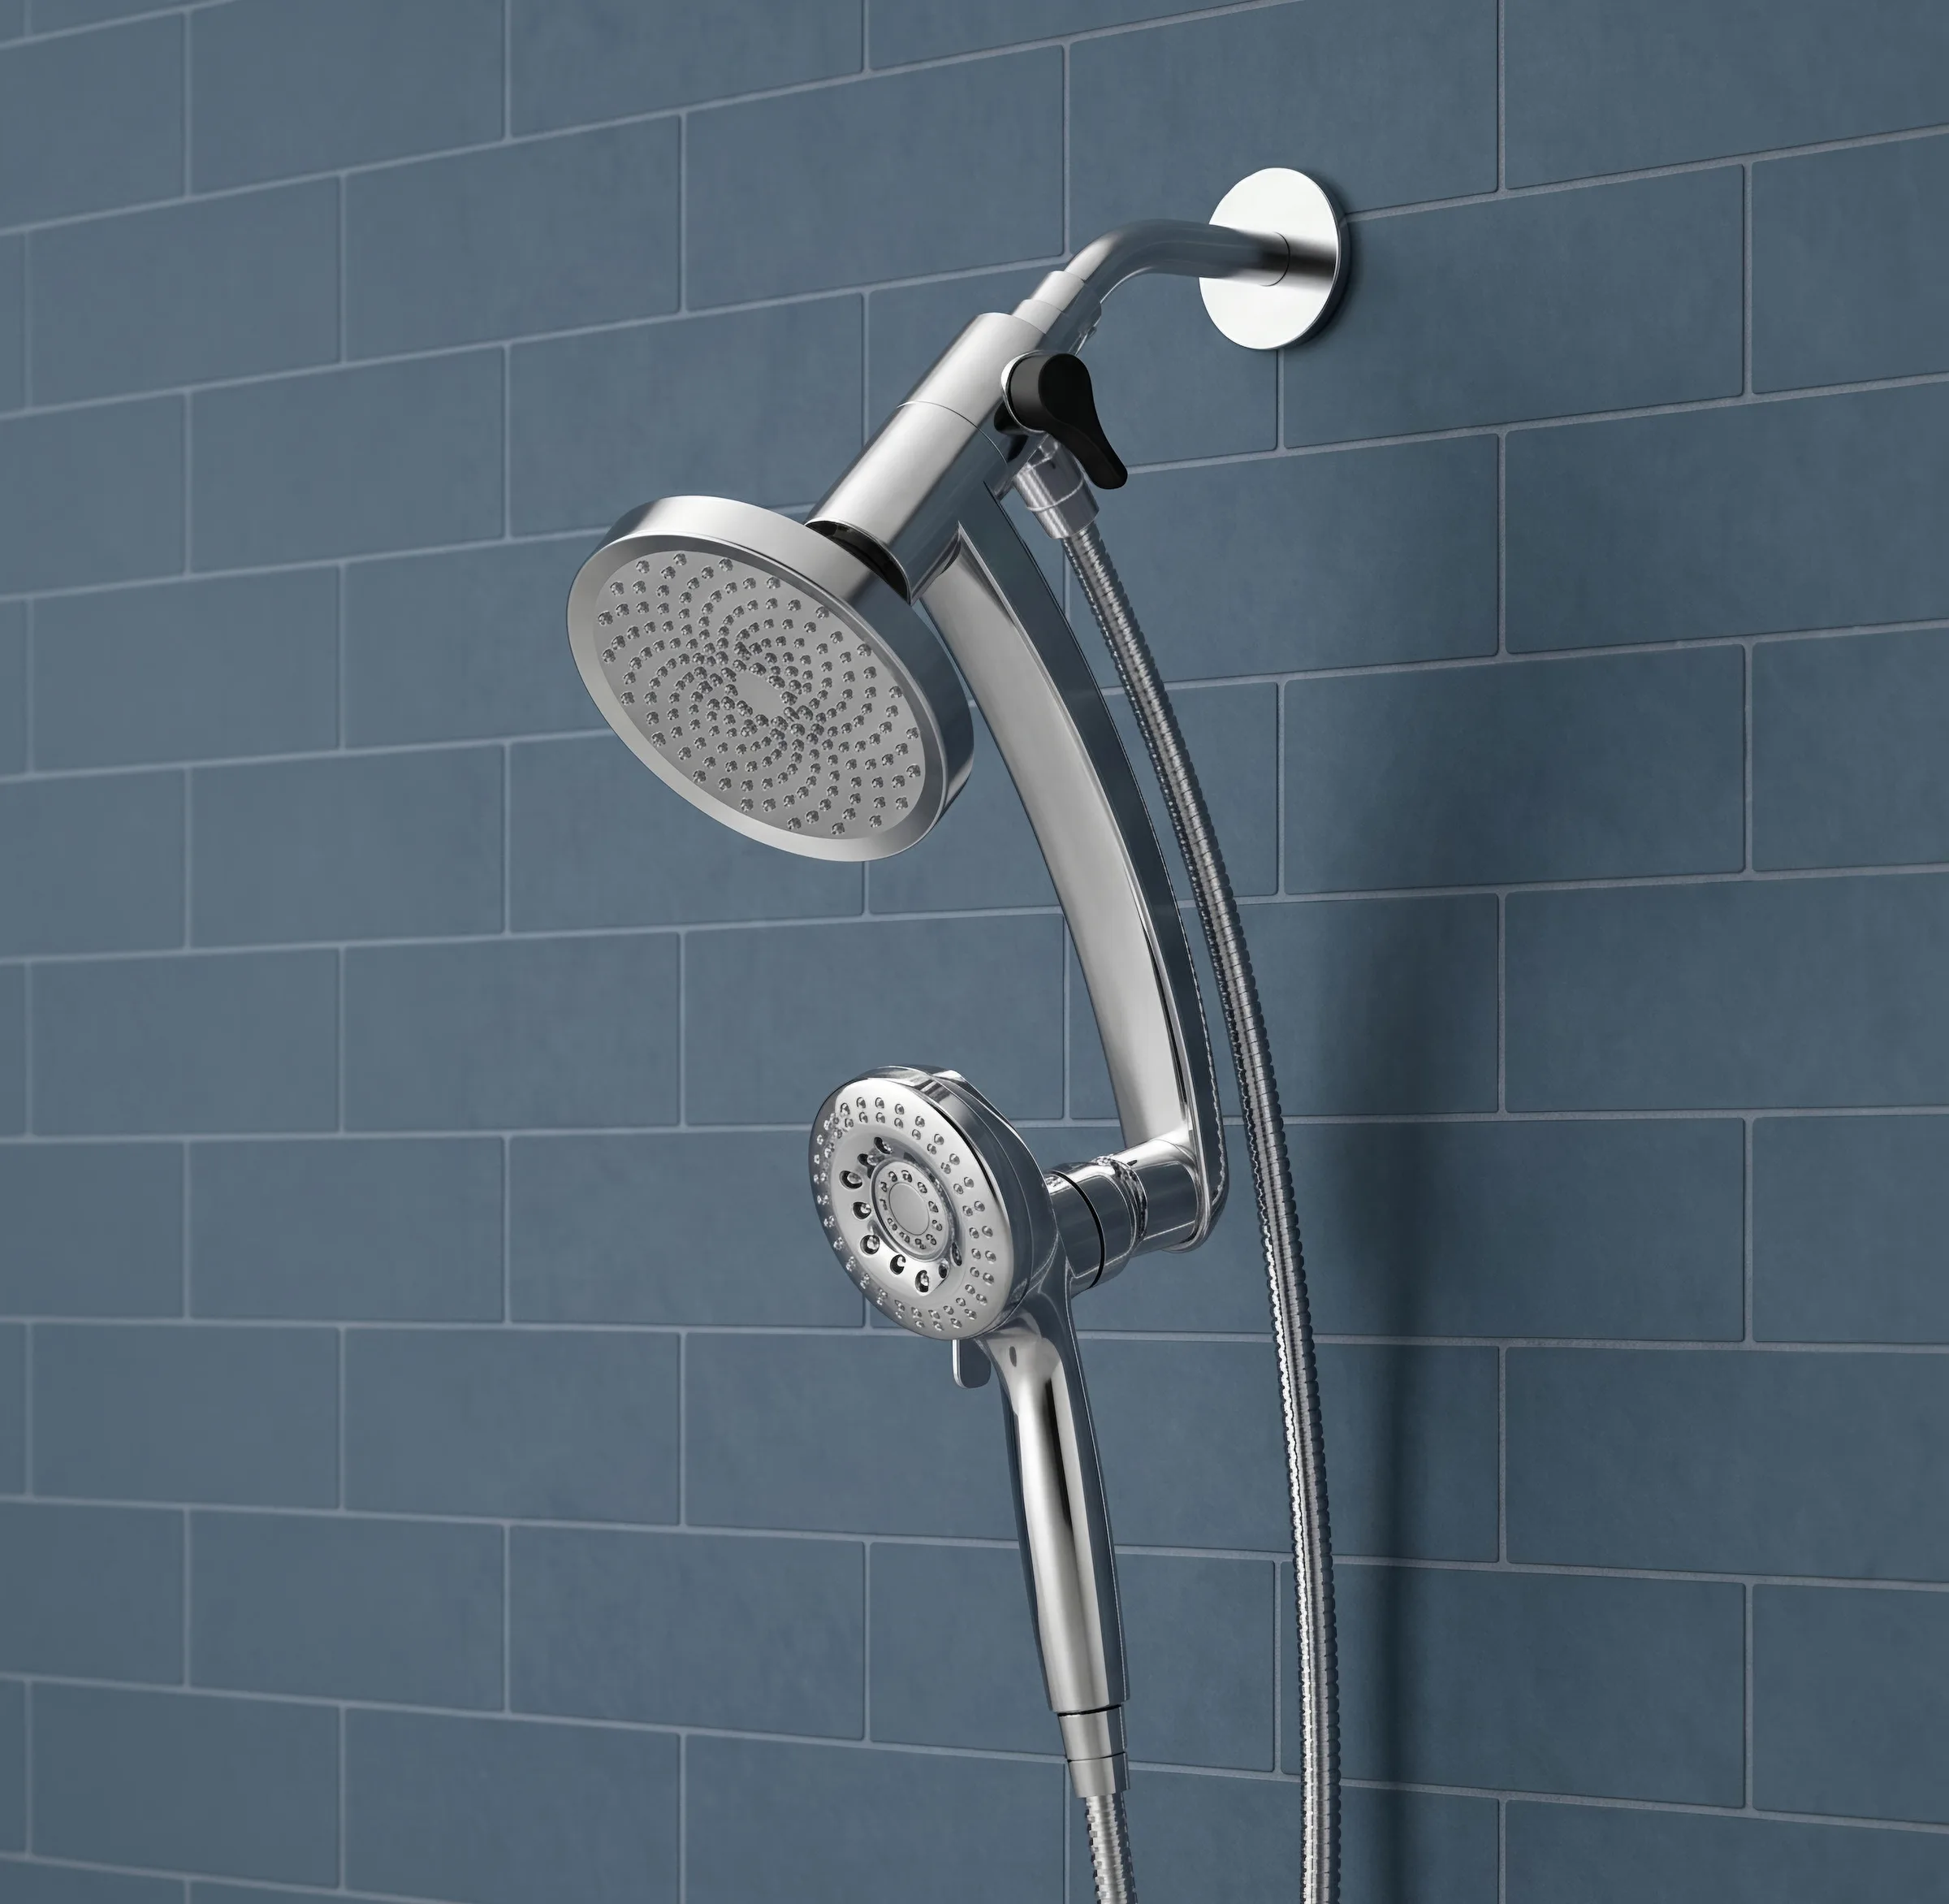
Magnetic Shower Head with Handheld Combo
Exclusive Bracket · Turn to Switch
One Dial. Three Waters.
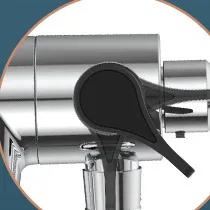
- Fixed ShowerWide fixed coverage
- Dual Spray · Combo2× coverage
- HandheldDetach · aim · precision


Magnetic QUICK-DOCK
One Hand. Every Time.
- RETURNMagnet catches it back
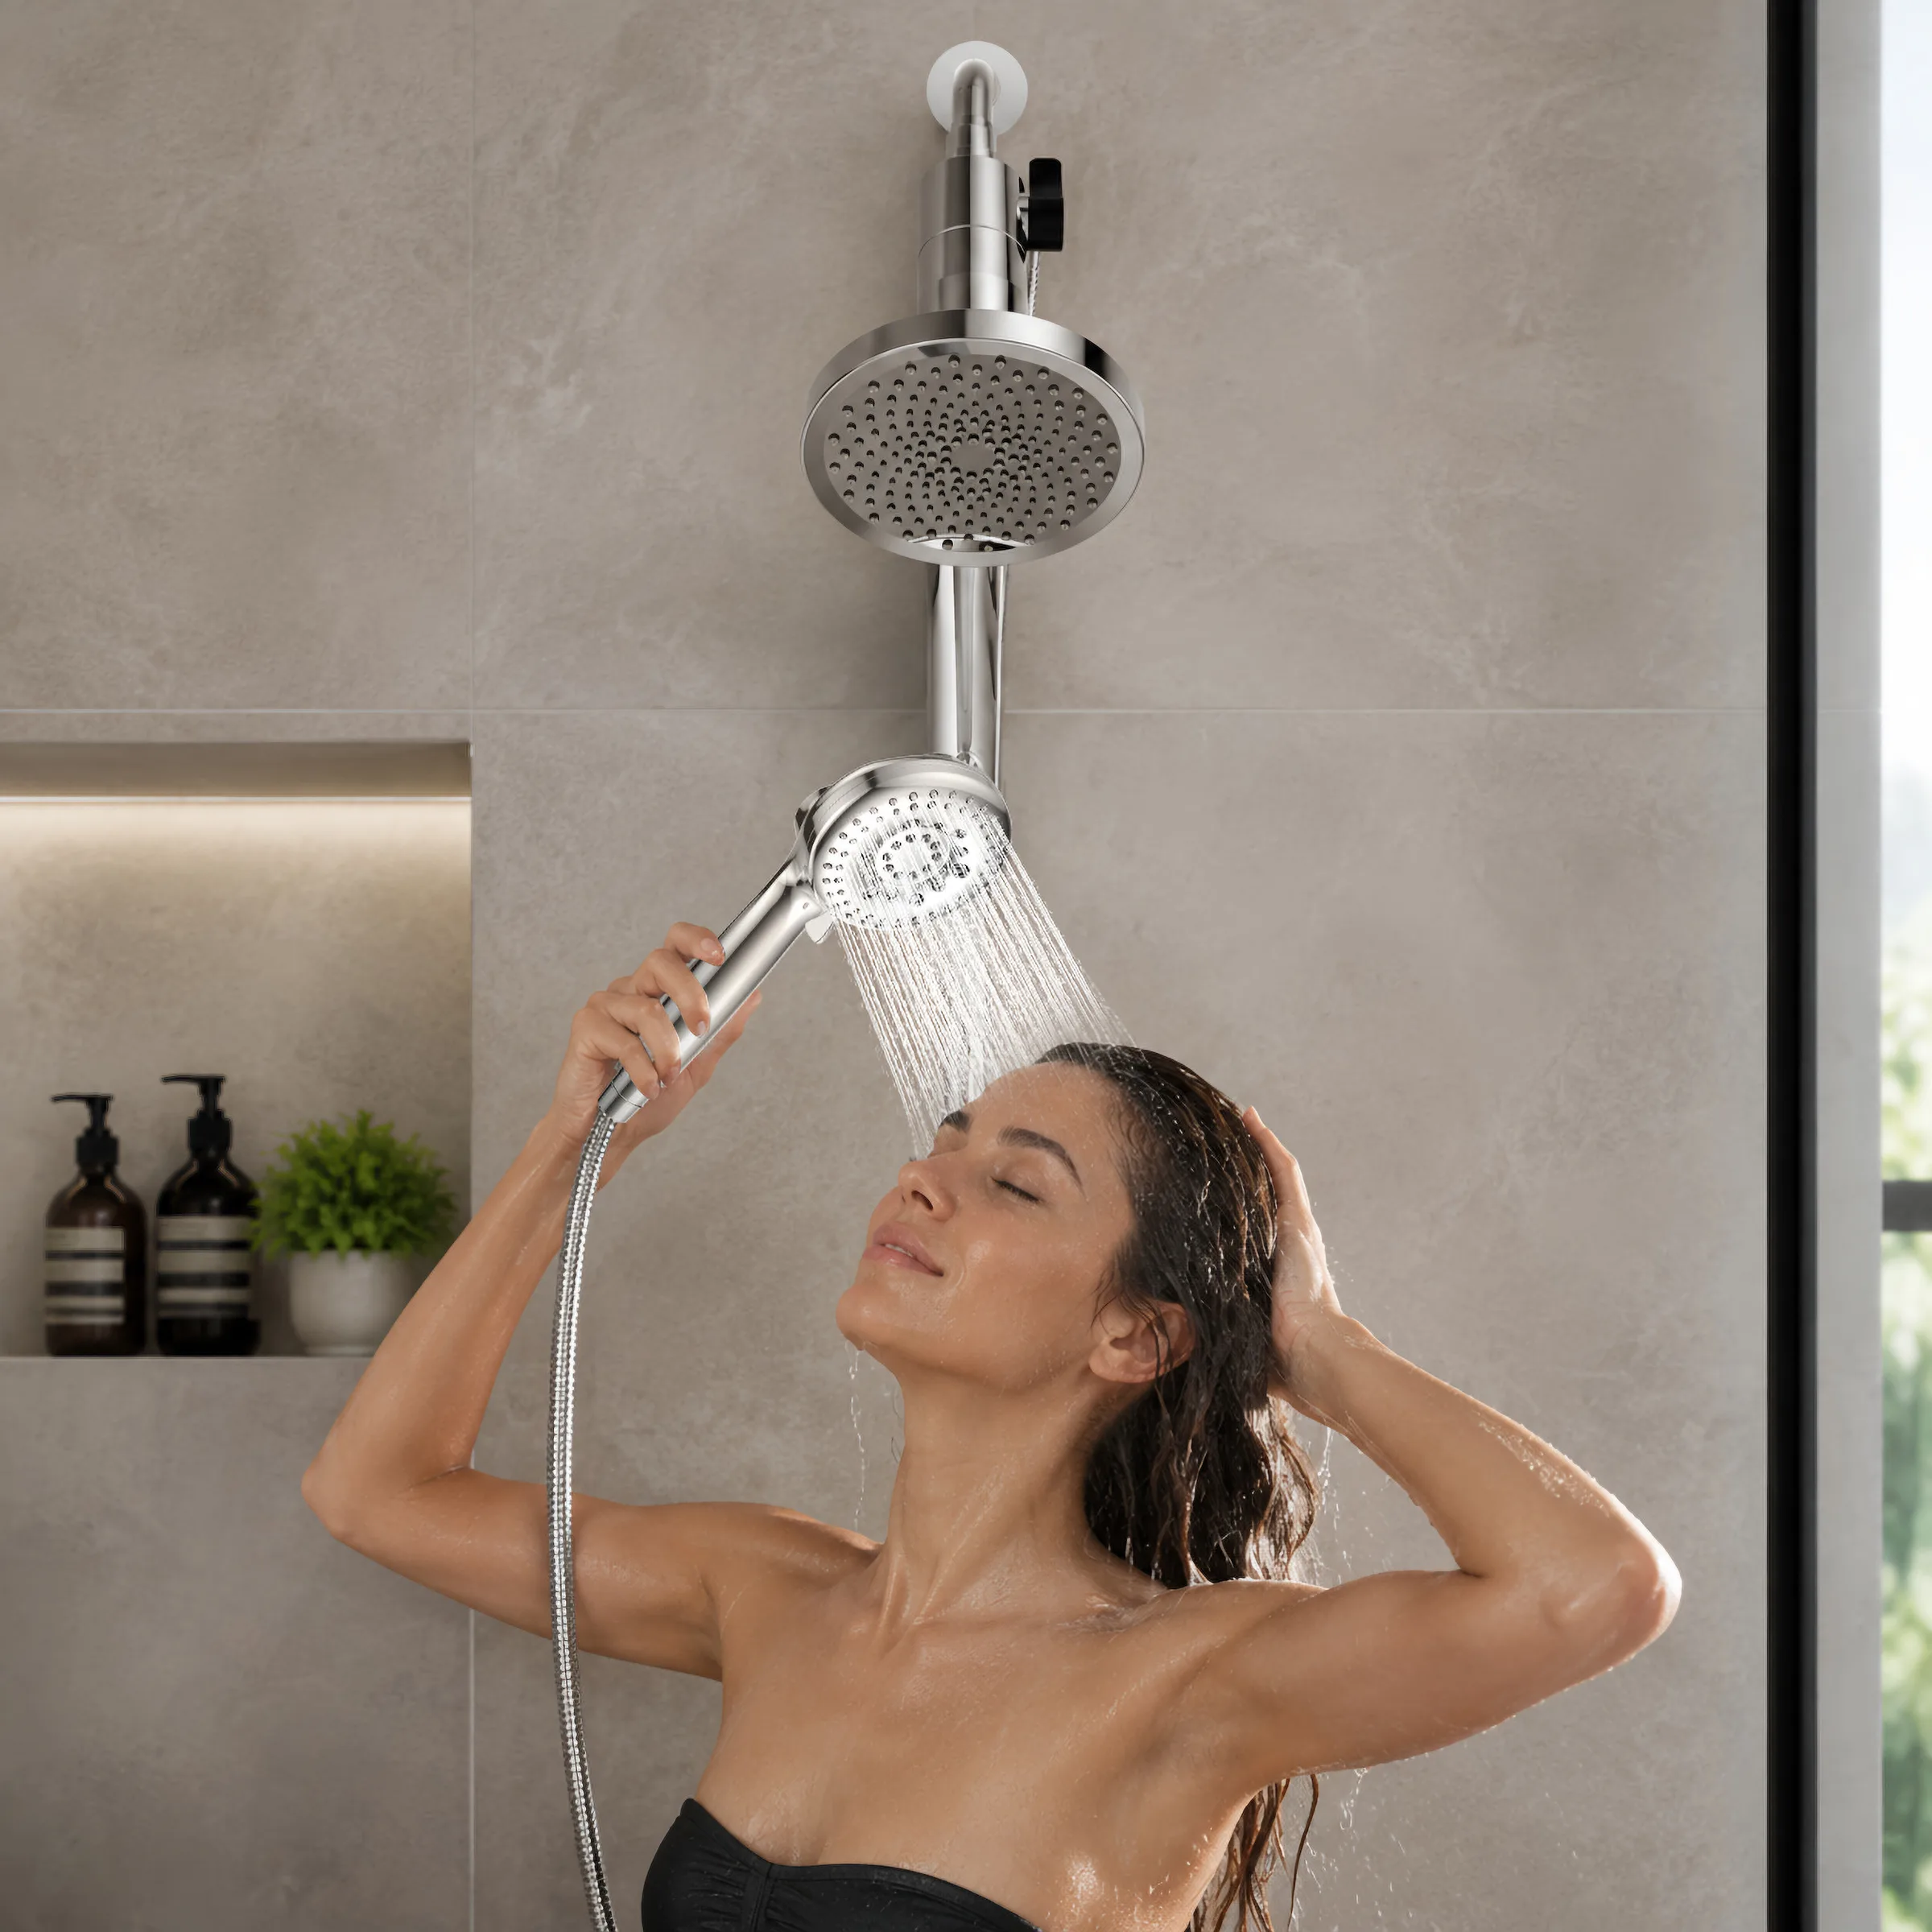
- USEAim anywhere you want
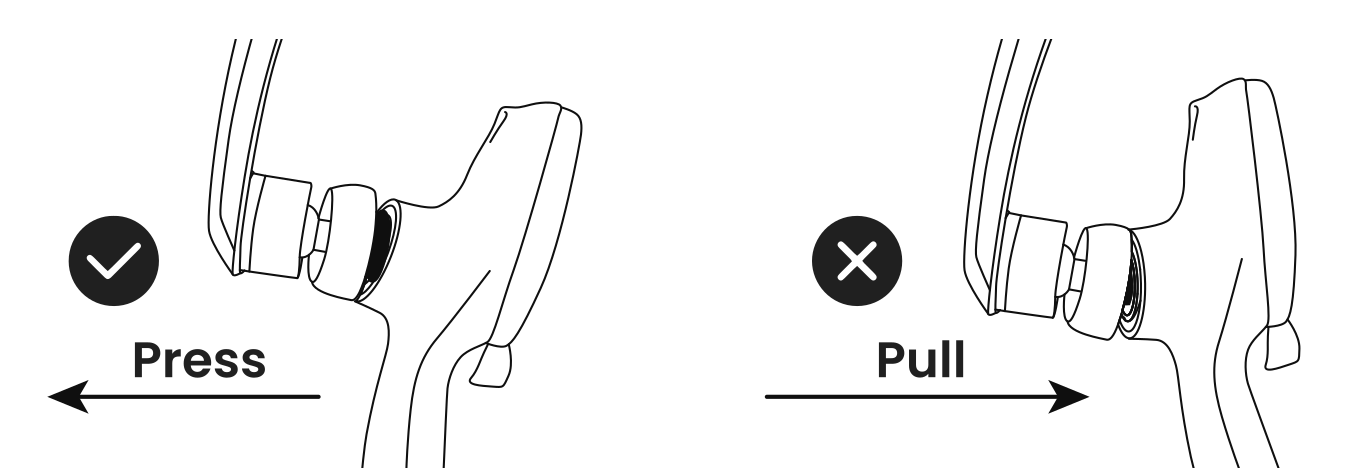
- GRABJust Push, it releases
- INSTANT SNAP
- ONE-HAND RELEASE
- BUILT TO LAST
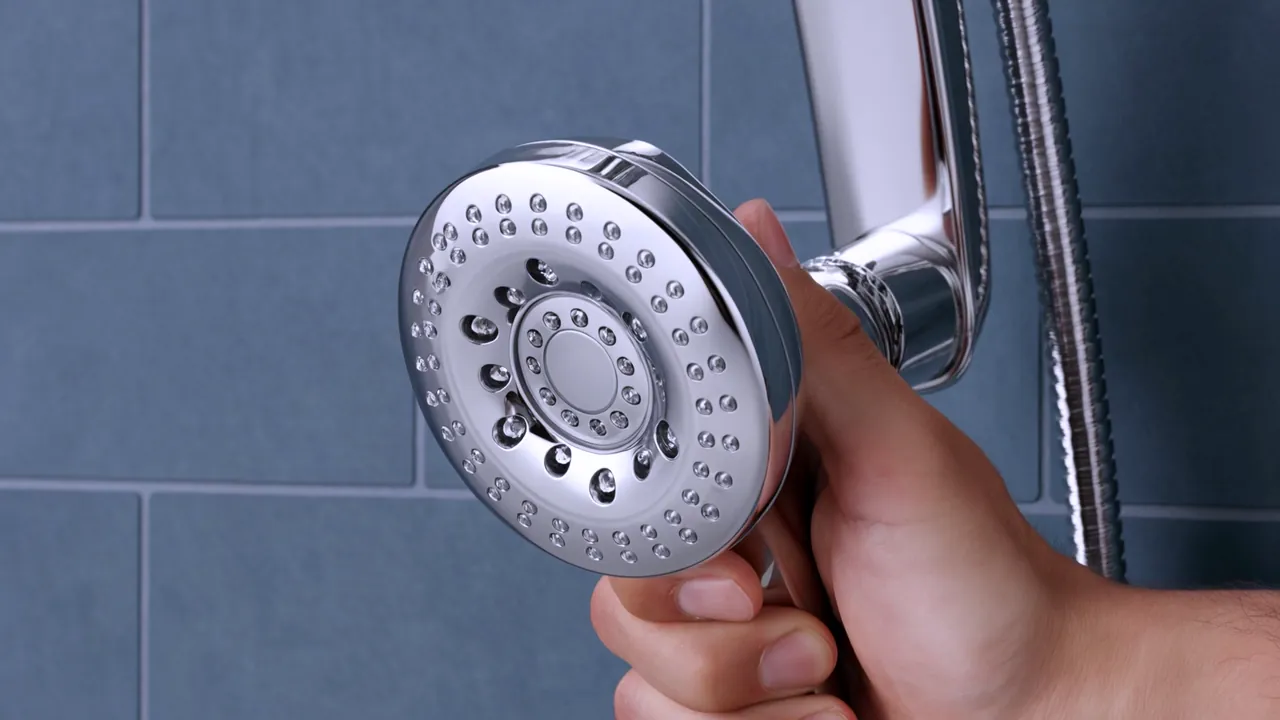


9 Spray Settings
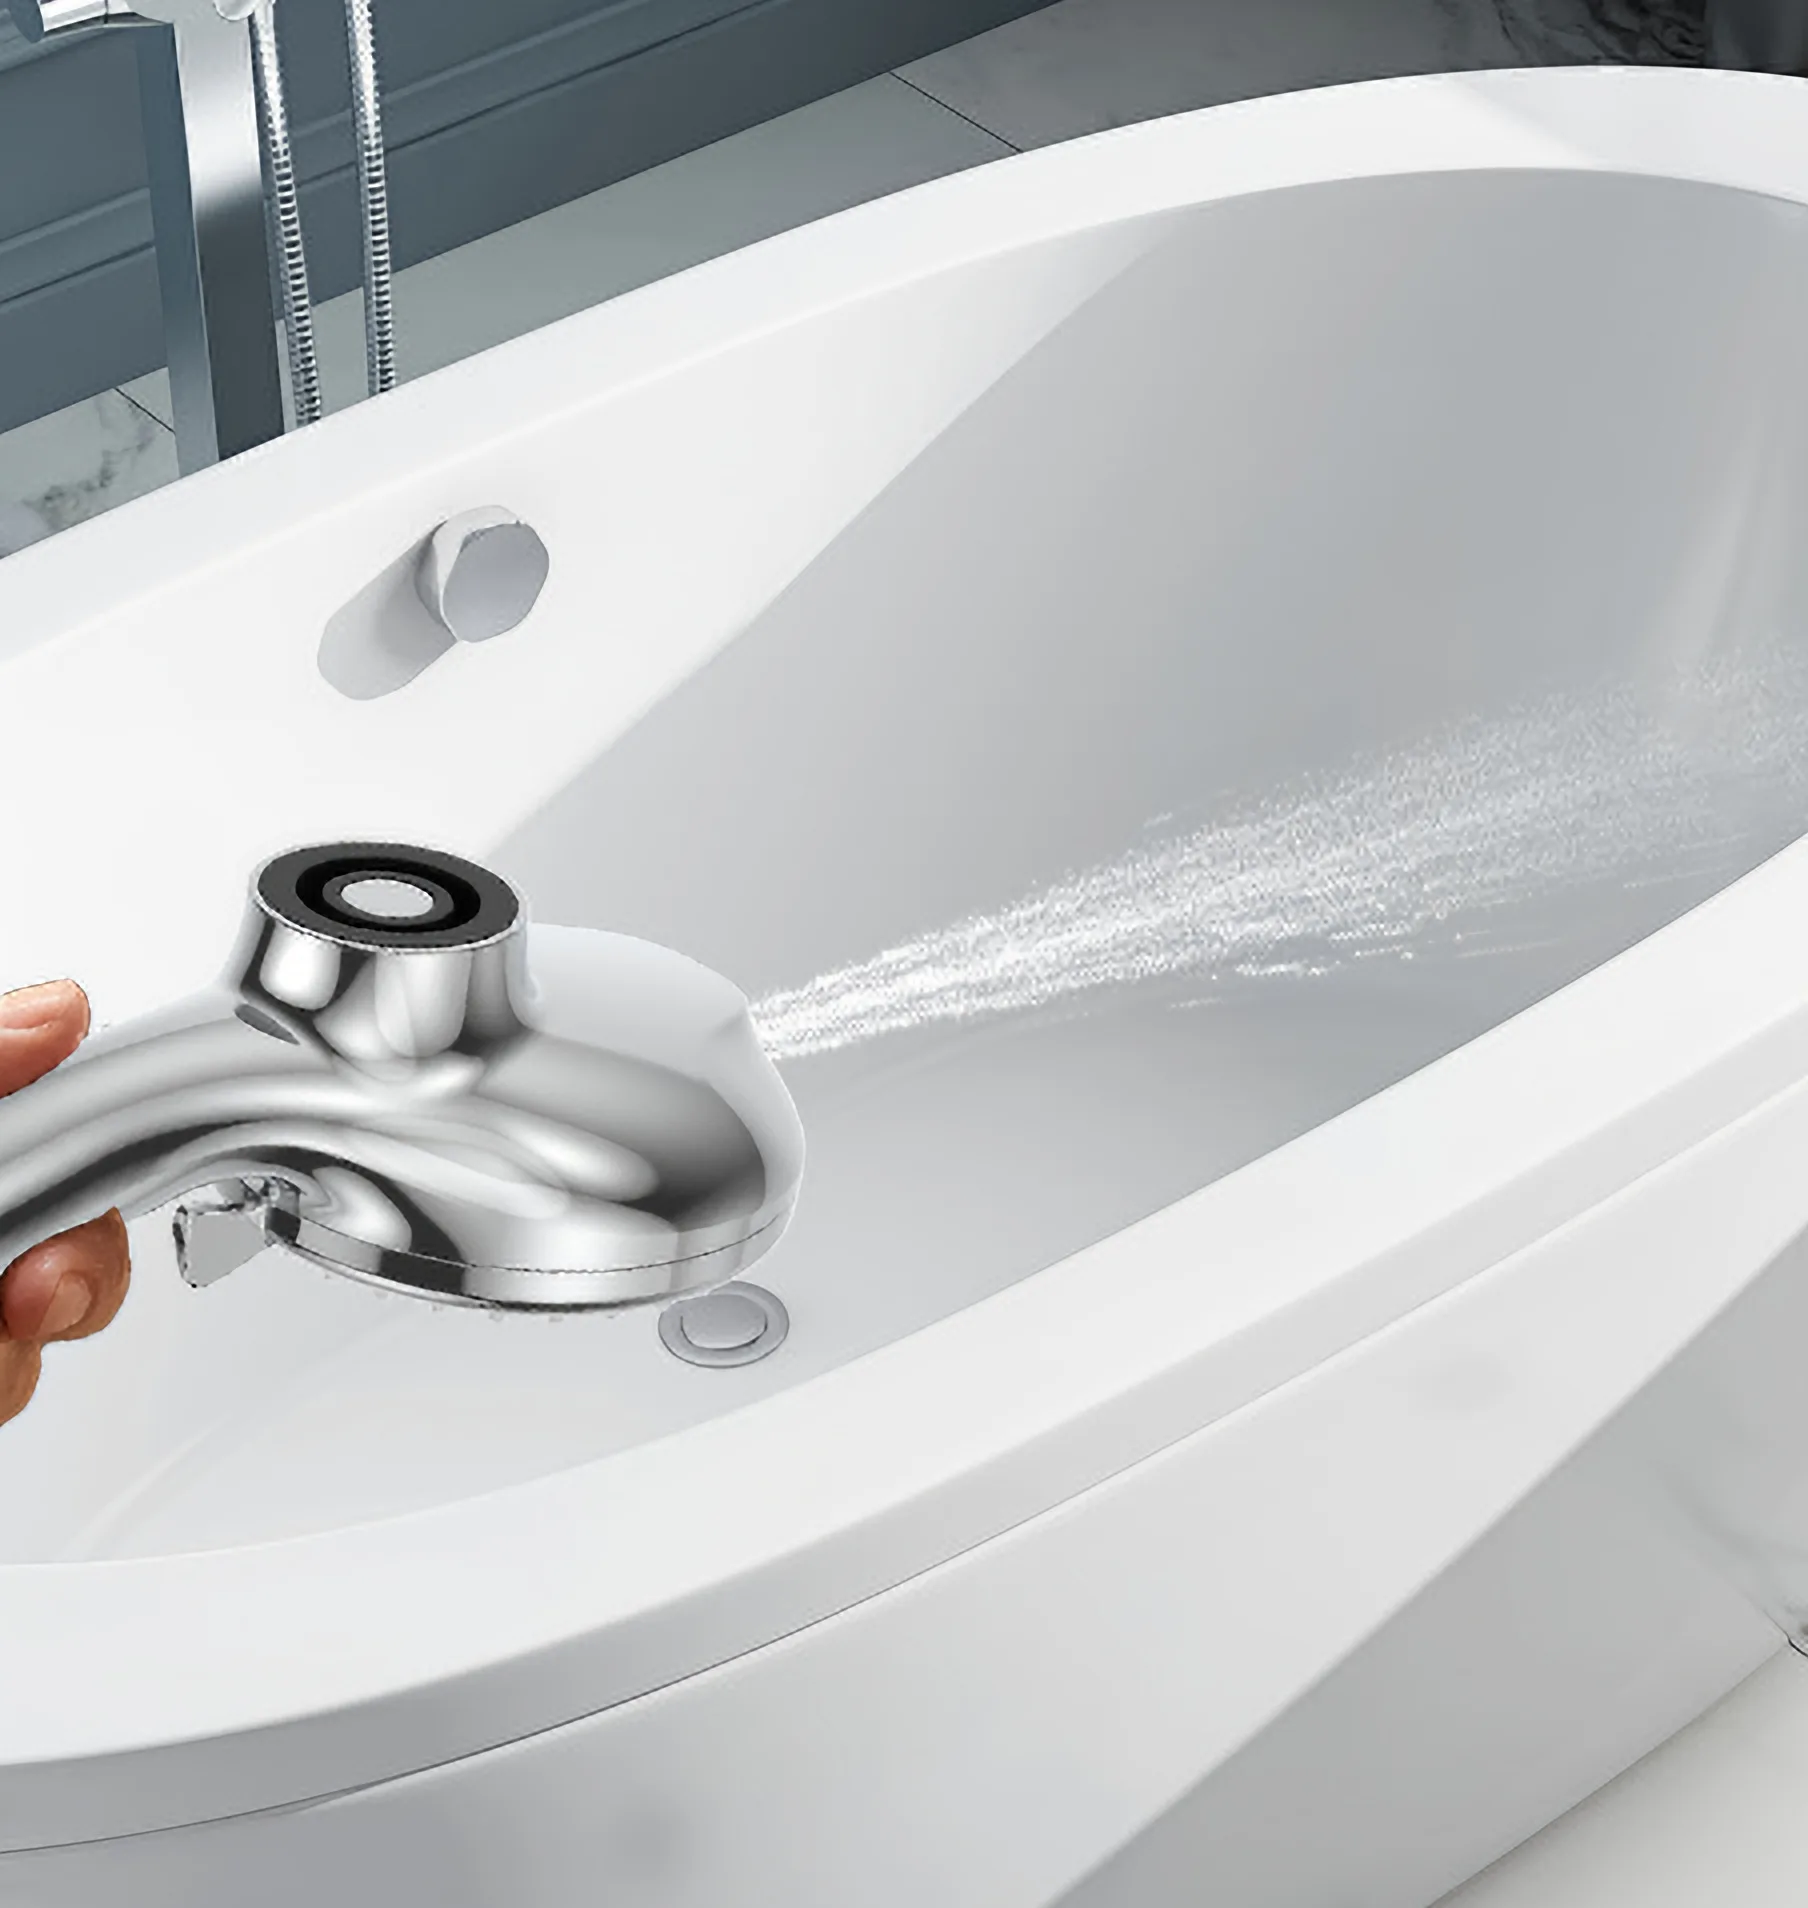
9-Mode Handheld With Spa Massage and Power Wash Jet: Saturating, Massage, Misty, Sweeping, Pause, and a focused Point Jet. Power-wash tile, soothe sore muscles, or rinse a muddy dog.


Not Every Shower Needs a Hair Day.
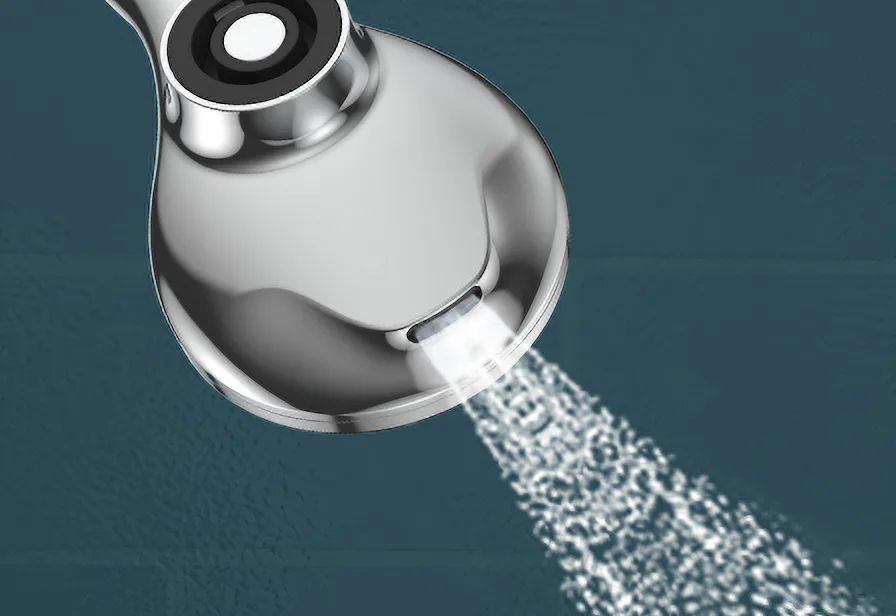
- ANGLE IT BELOWSide-jet directs water
- KEEP YOUR BLOWOUTRinse body · skip hair
- QUICK RESETIn · out · done
Keep Your Hair Dry — 180° Swing Arm Plus Two 360° Joints: swing the lower arm along its arc and tilt either head to send water below the neck on no-wash days, or straight down for a full rinse.
360° Full Range
Every Angle
Three independent pivots let you aim water exactly where you need it.
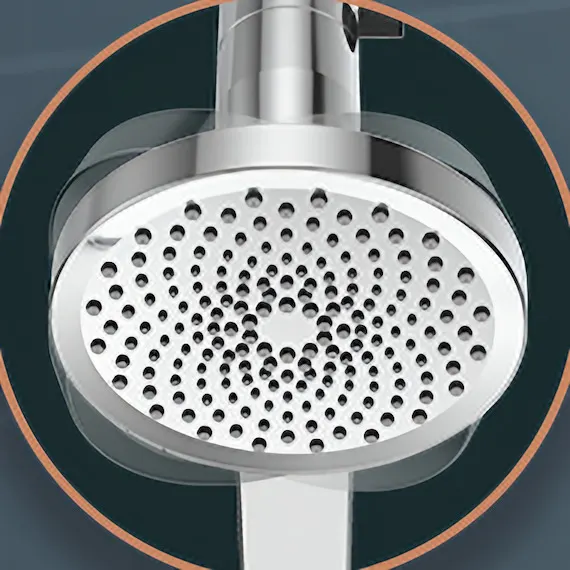
360° Swivel
FIXED SHOWER HEAD
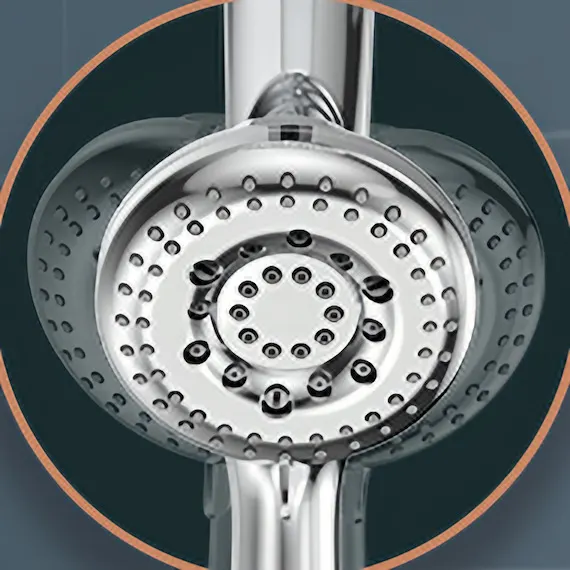
360° Ball Joint
HANDHELD IN BRACKET
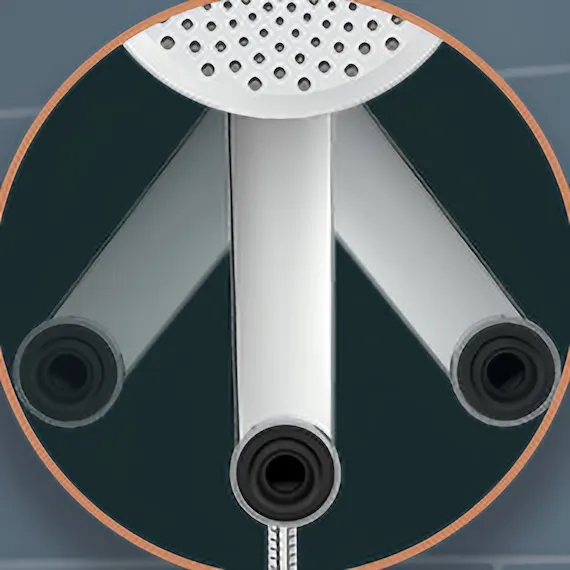
180° Swing
LOWER ARM PIVOT


FULL-COVERAGE HIGH-PRESSURE
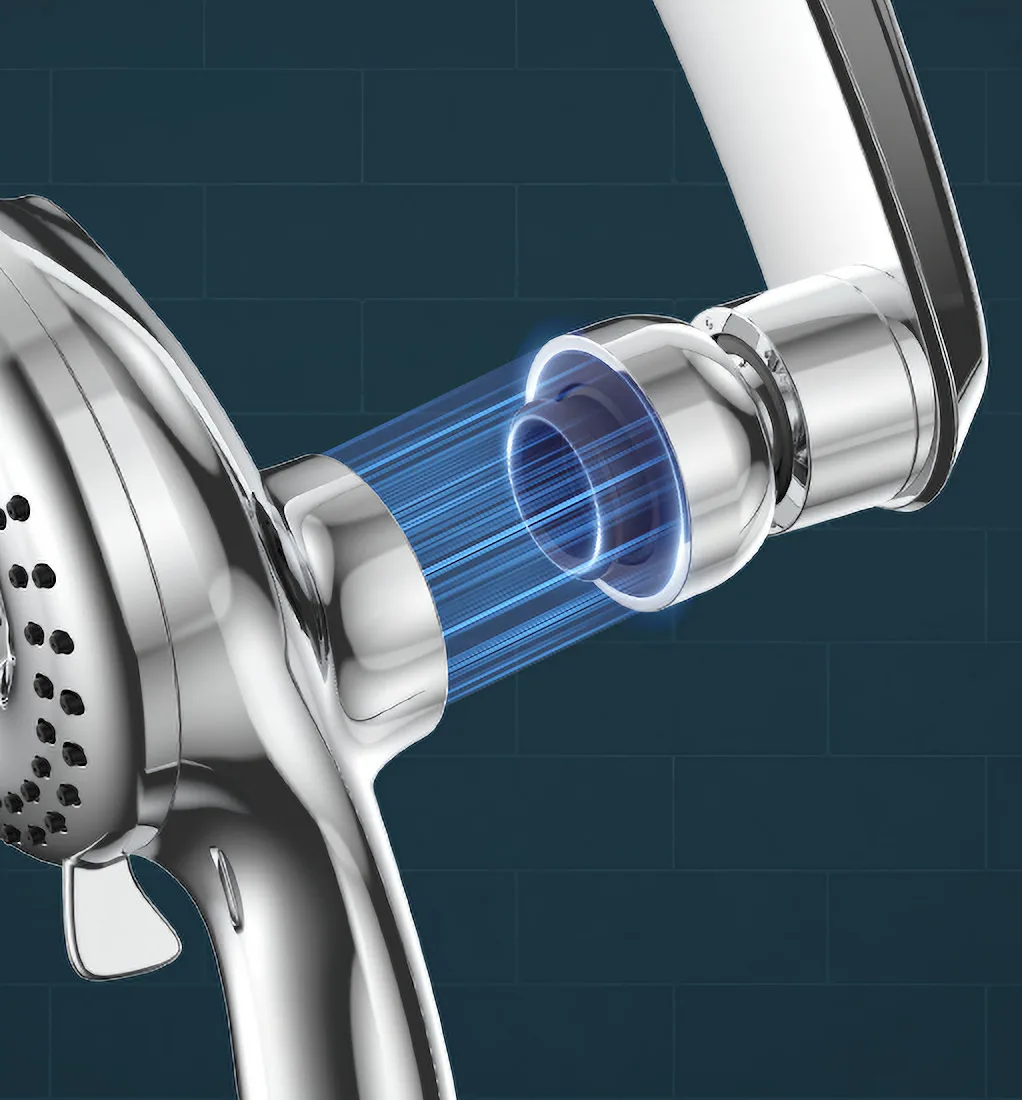
Full Pressure
1.8 GPM · Feels Like 2.5


Saves 28% water vs. a 2.5 GPM shower head


Even Your Best Friend
9 MODES · GENTLE ENOUGH
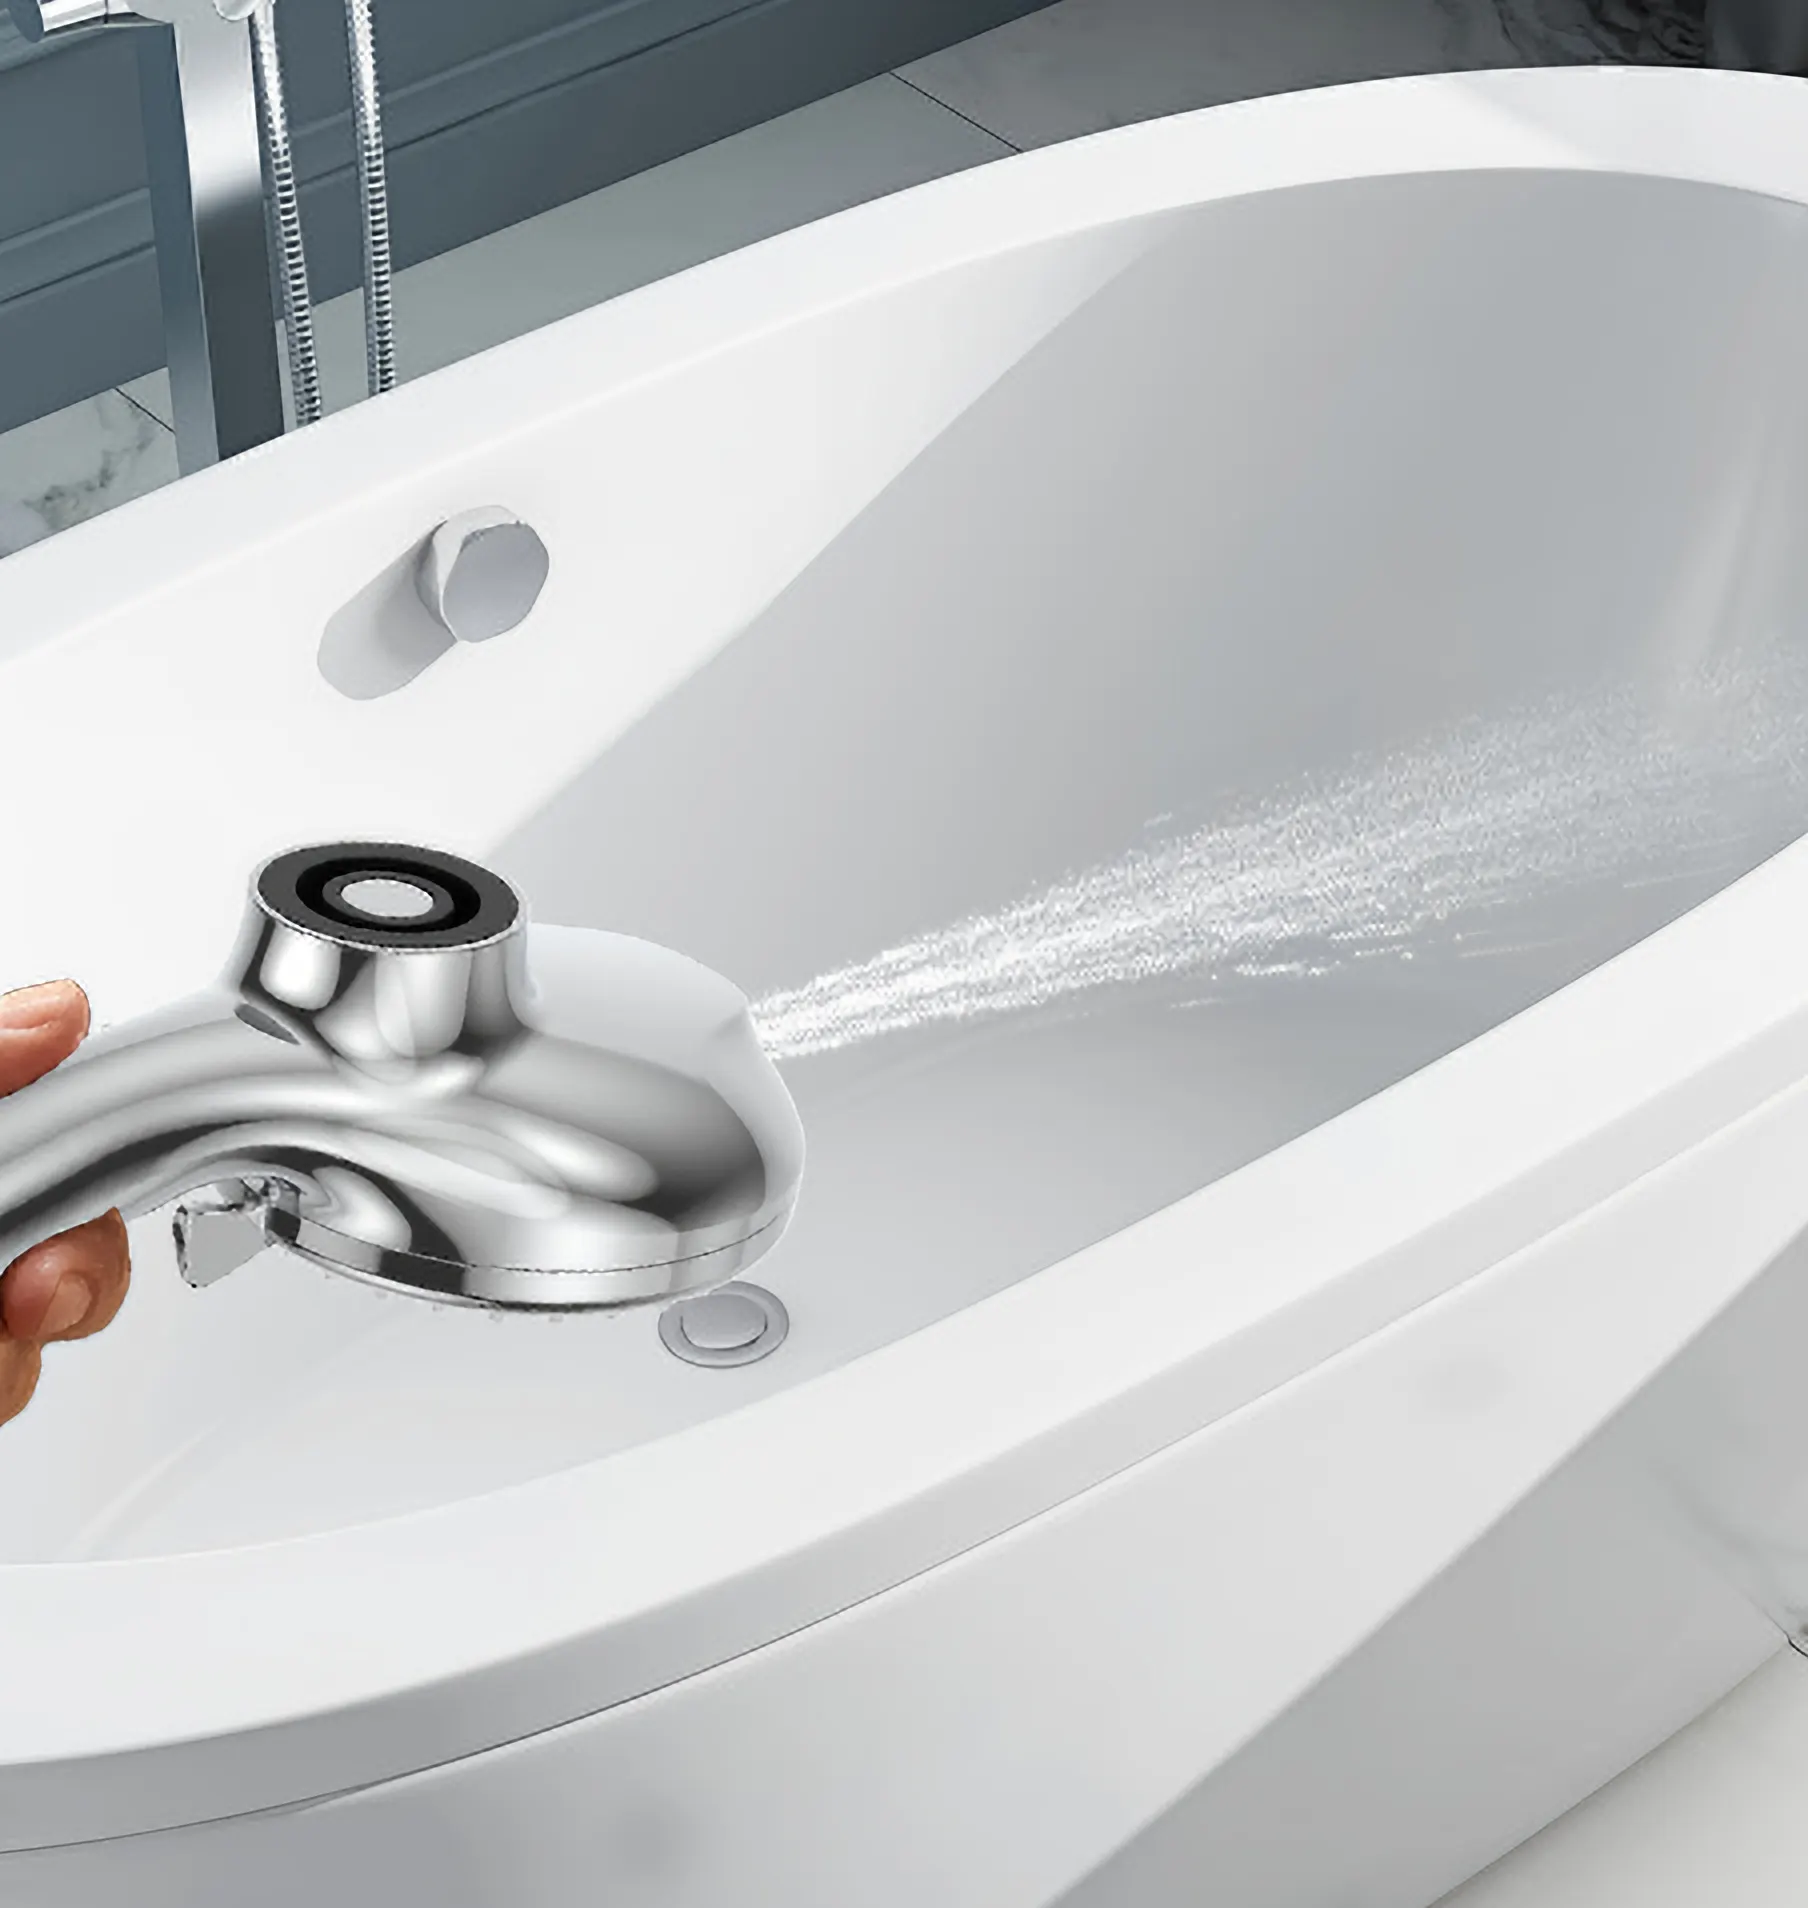
Grab It. Spray It.
HANDHELD · WHERE YOU NEED

Safe for the Smallest Ones
GENTLE · SAFE FOR LITTLE ONES


Unbox. Install. Done.
Most installs take about 5 minutes. No plumber needed · wrench included.
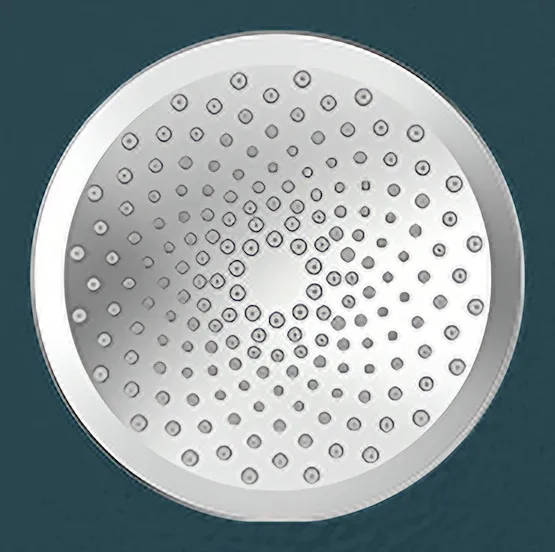 6" Round Shower Head
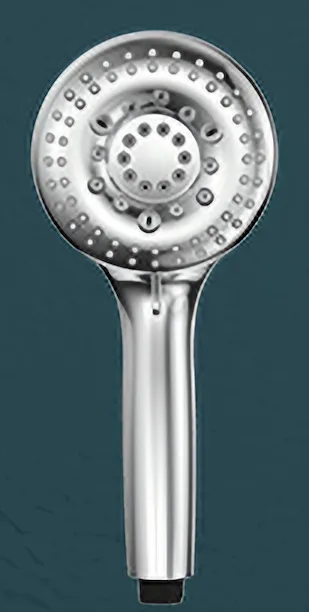 HANDHELD · 9 SETTINGS
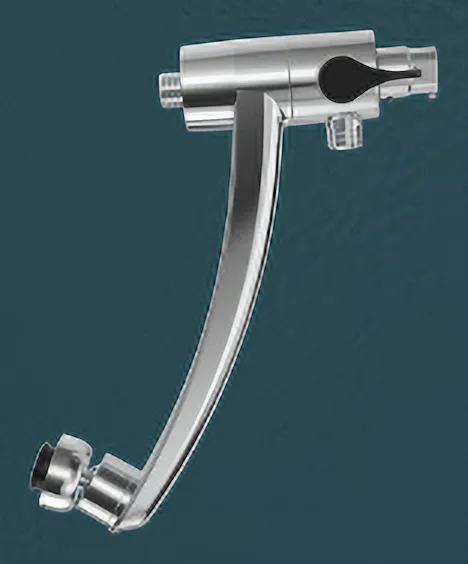 EXCLUSIVE BRACKET (3-Way)
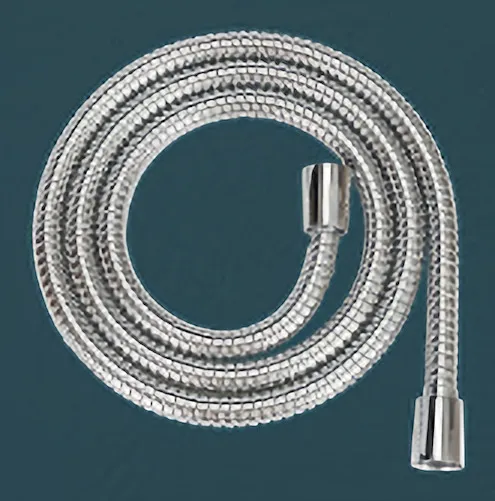 59" Hose
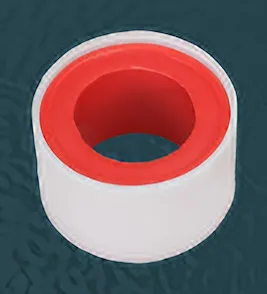 Teflon Tape
 Manual
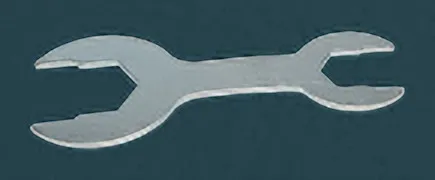 Wrench
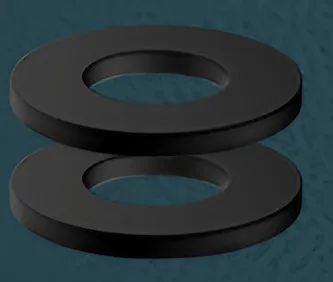 Washers
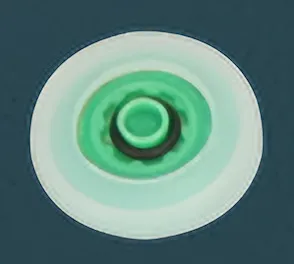 Handheld Flow Restrictor (1.8 GPM)
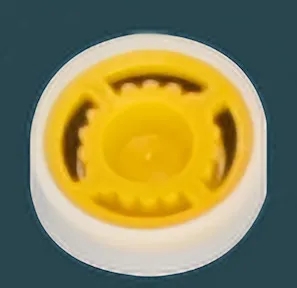 Fixed Shower Flow Restrictor (1.8 GPM)
Installation Guide
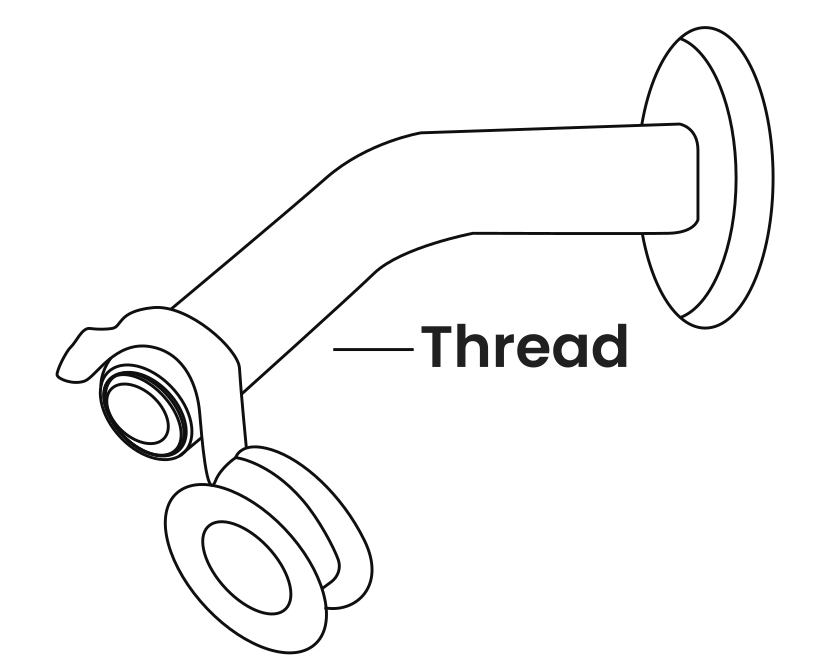
Step 01
Remove your old shower head by twisting it counterclockwise. Clean any debris from the shower arm threads. Apply 3–5 wraps of Teflon tape clockwise around the threads to ensure a watertight seal.
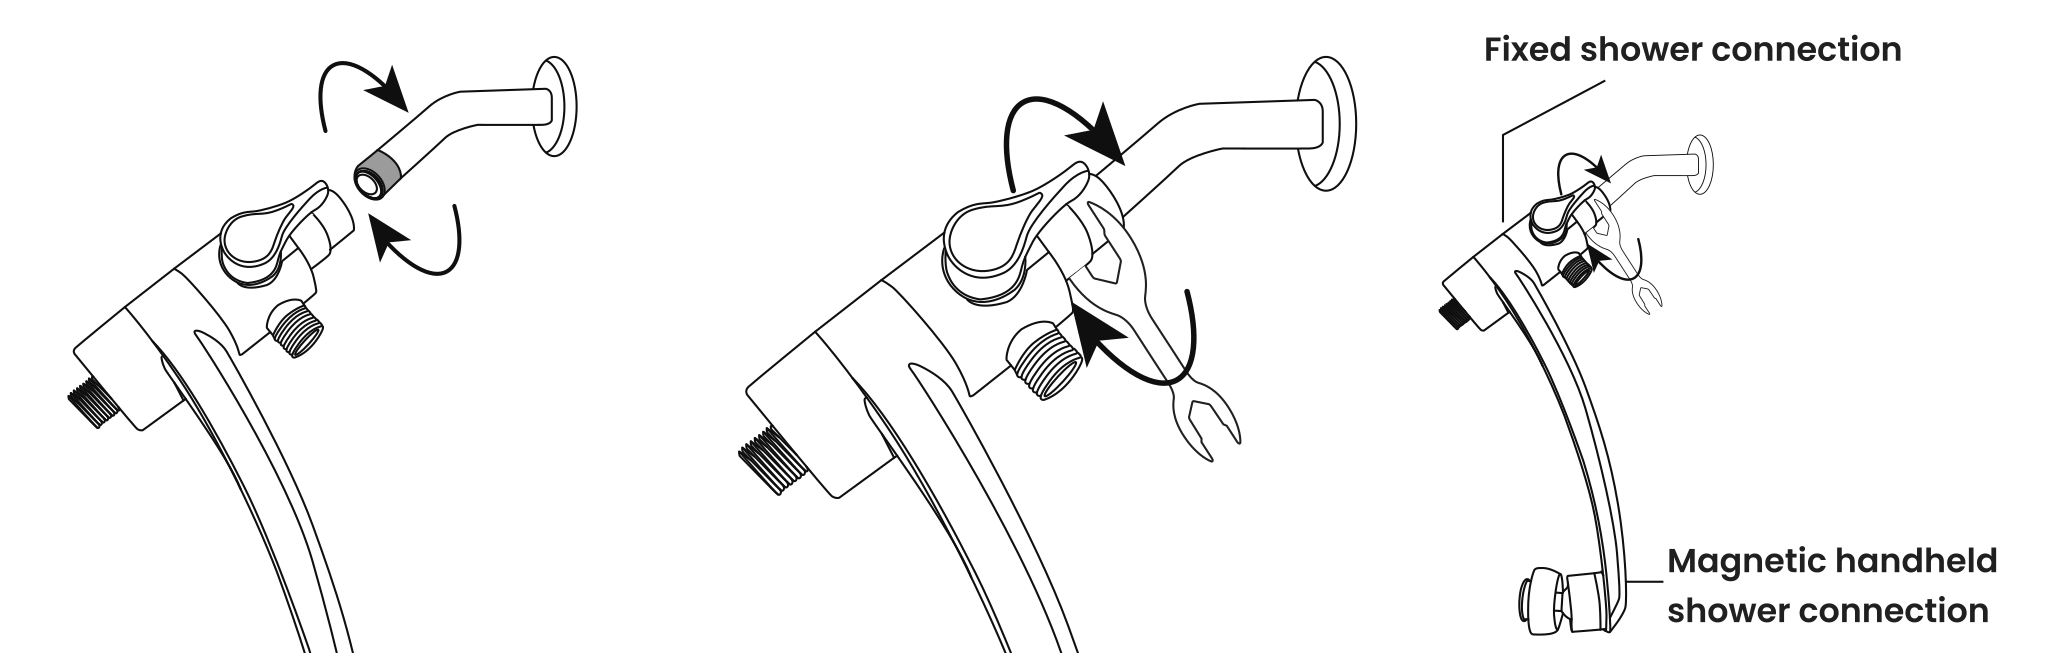
Step 02
Screw the shower bracket onto the shower arm clockwise.
- Secure: Use the provided wrench to tighten firmly.
- Protection: Place a cloth between the wrench and the bracket to prevent scratching the finish.
- Orientation: Ensure the fixed shower outlet is on top, and the Magnetic Dock for the handheld spray is at the bottom.
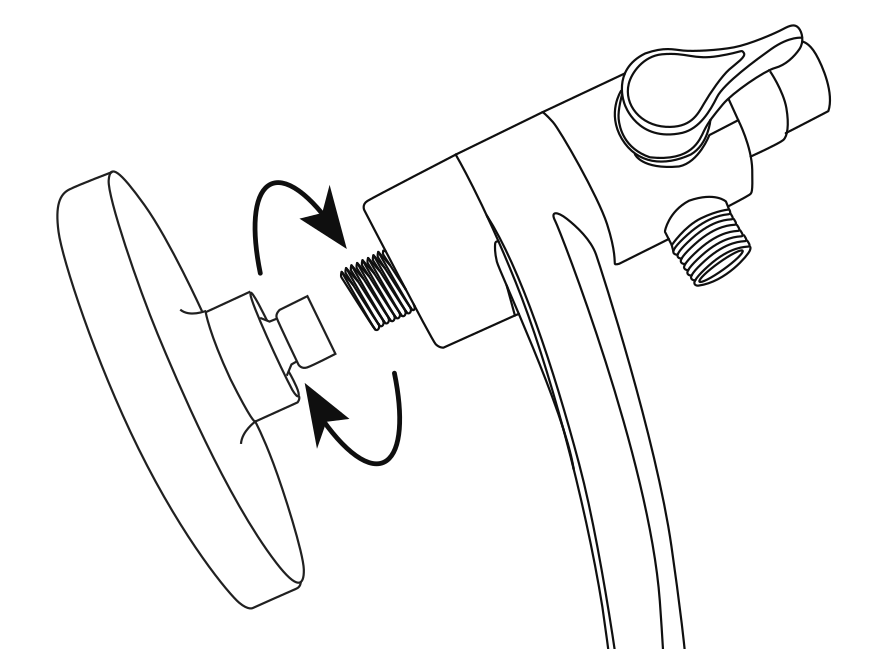
Step 03
Screw the 6" shower head onto the top outlet of the bracket clockwise. Hand-tighten first, then use the wrench for a final secure fit.
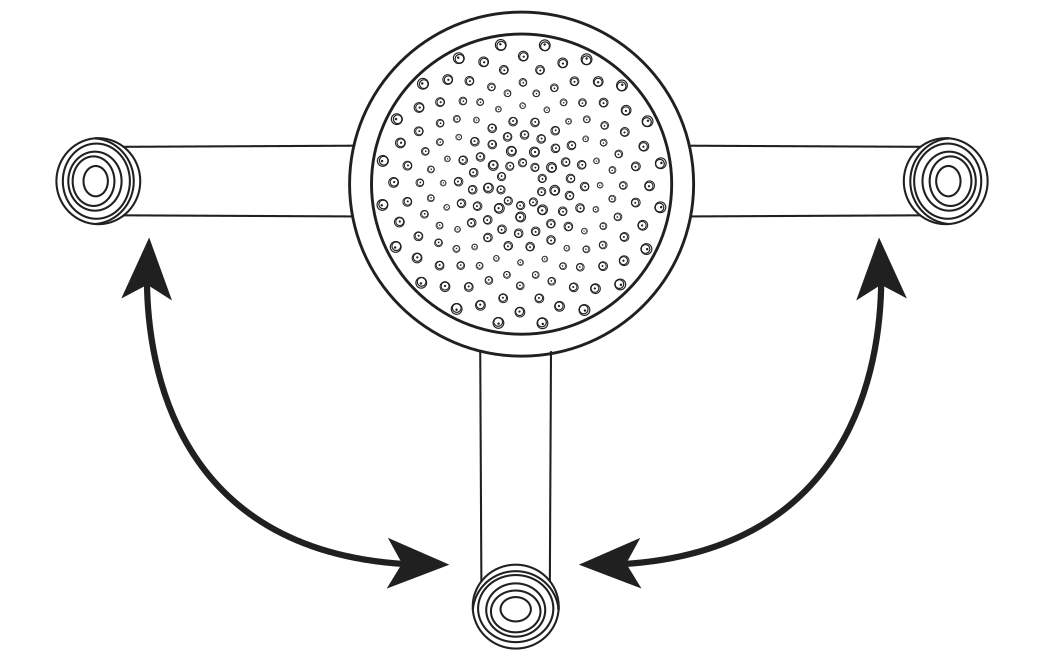
Step 04
The lower arm of the bracket is designed to pivot 180°. Hold the bracket firmly and manually adjust the handheld mount to your preferred angle. This allows you to position the spray exactly where you need it for hands-free use.
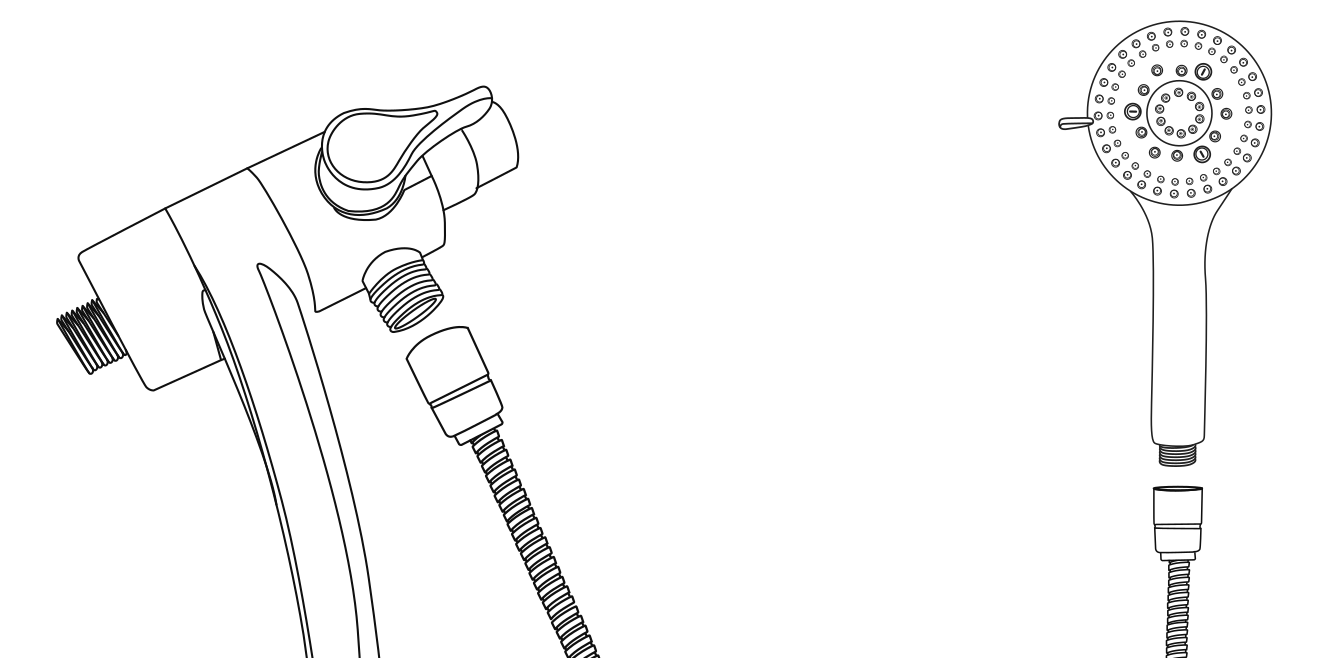
Step 05
Connect one end of the hose to the bracket's bottom outlet, and the other end to the handheld shower head. Hand-tighten both connections, ensuring the washers are in place.
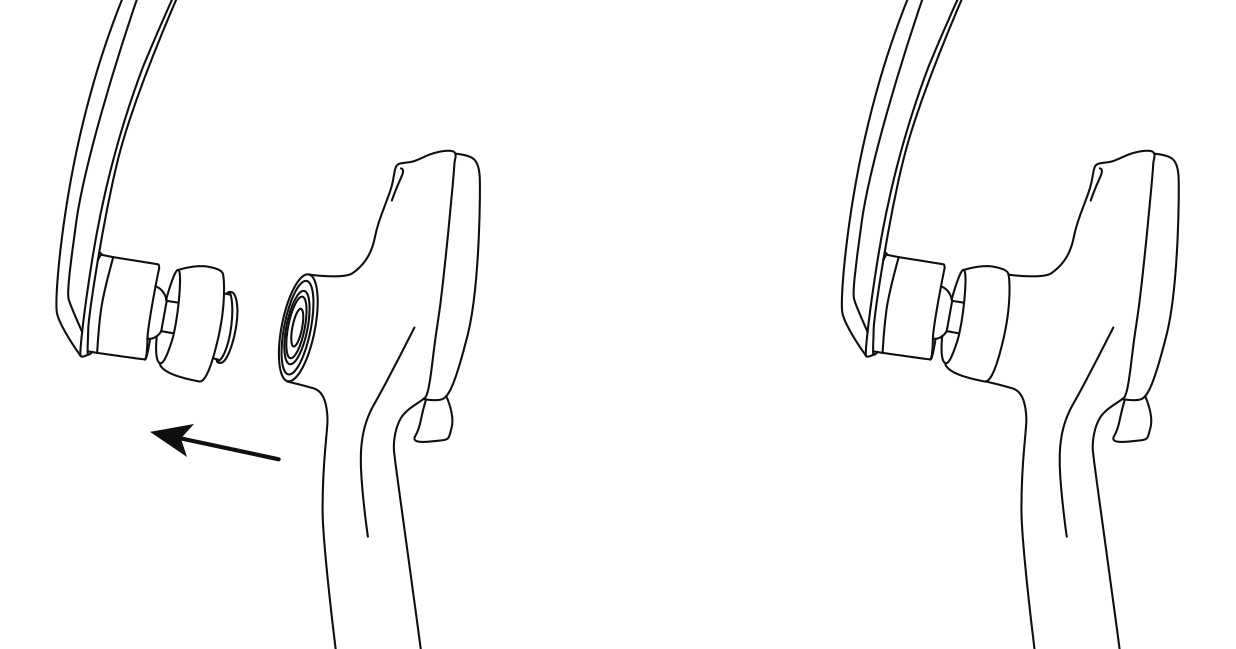
Step 06
Snap the handheld shower head onto the Magnetic Dock. Turn on the water supply and inspect all connections for leaks. If leaks occur, re-tighten the affected coupling nuts.
Shower Head Combo Key Features
- Exclusive Shower Bracket
- Easily toggle water flow between the overhead spray, handheld spray, or both.
- 9 Handheld Spray Settings
- Rotate the dial to switch between 9 versatile patterns, from powerful massage to gentle mist.
- Magnetic Quick-Dock
- The shower head snaps instantly onto the Magnetic Dock, allowing for effortless, one-handed storage.
- 360° Full Coverage
- Both heads rotate 360° to direct flow exactly where you need it.
- 59" Flexible Hose
- Ultra-flexible stainless steel hose for extended reach and durability.
- Eco Flow Control
- The 1.8 GPM water-saving insert reduces consumption while maintaining powerful cleaning performance.
Anti-Leak Design + Easy-Clean Silicone Nozzles
Sealed inlets and reinforced threads prevent joint leaks. Soft silicone nozzle tips wipe clean with a finger rub — minimal maintenance needed.
Questions & Answers
Does the bar slide up and down to adjust height?
The arm does not slide or extend. It pivots at the top and swings along a 180° arc, which moves the handheld's docking position up, down, or to either side.
Leak at the bracket connection
- Ensure one washer is properly seated inside the bracket.
- Remove all old thread seal tape from the shower arm.
- Use the included wrench to secure the swivel nut.
- Tip: A small amount of soap on threads can act as a temporary sealant.
Leak at the handheld-to-hose connection
- Ensure a washer is present at both ends of the hose.
- Hand-tighten only. Do not use tools, as overtightening may crack the connector.
Leak at the shower head-to-bracket connection
- Apply a thin layer of the included thread seal tape.
- Use the included wrench to tighten gently, ensuring a snug fit.
Low water pressure
- Inspect the 1.8 GPM water-saving insert for debris.
- Soak the insert in white vinegar for 2–3 hours to remove mineral buildup, then rinse thoroughly.
Lower water pressure when using both shower heads
- This is a normal physical occurrence. When the 3-Way Diverter is set to the "Combo" mode, the 1.8 GPM water flow is split between both heads, resulting in lower pressure for each.
- For maximum pressure, switch the diverter to use only one shower head at a time.
Mineral deposits in spray nozzles
- Disconnect the shower head or handheld and soak the face-down head in 1–2 cups of white vinegar for 2–3 hours.
- Reconnect and run water through to clear remaining deposits.
Handheld falls from the Magnetic Dock
- Ensure the handheld is fully snapped into the dock. You should hear a "click" when the magnetic connection is secure.
Handheld is difficult to remove from the Magnetic Dock
- To release, tilt and press the handheld downward. Avoid pulling it straight outward, as the magnetic hold is strongest in that direction.





Shower Head Combo
Model VH-CB01-CR